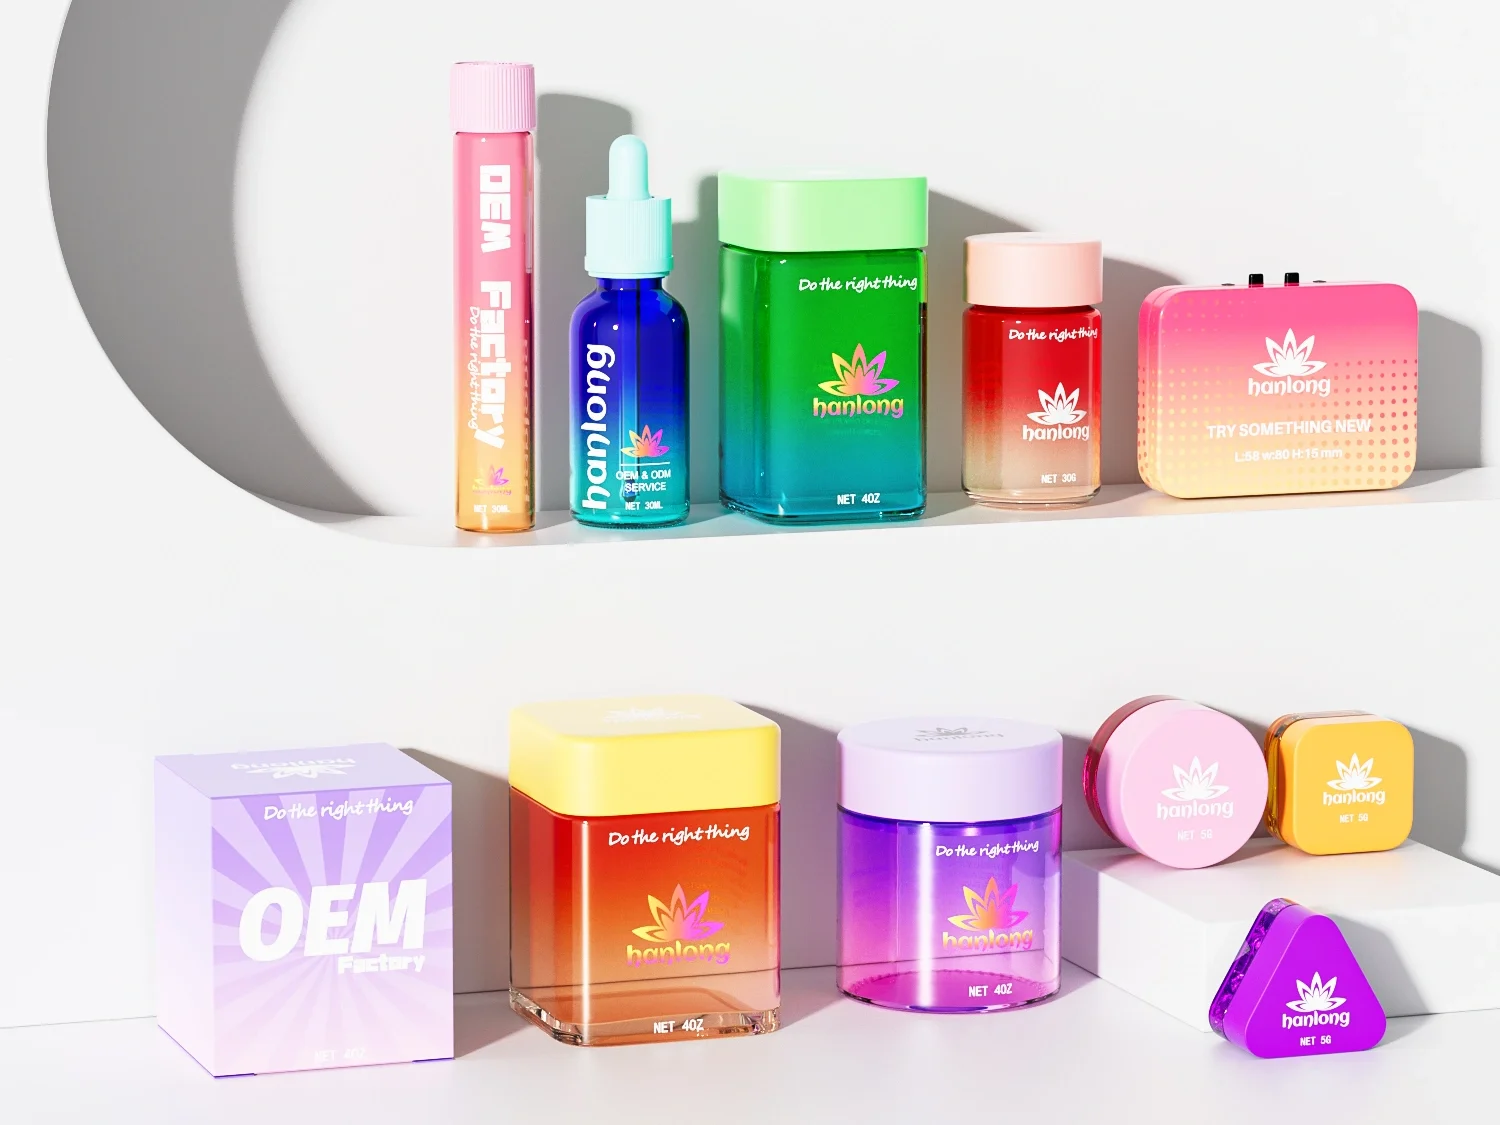
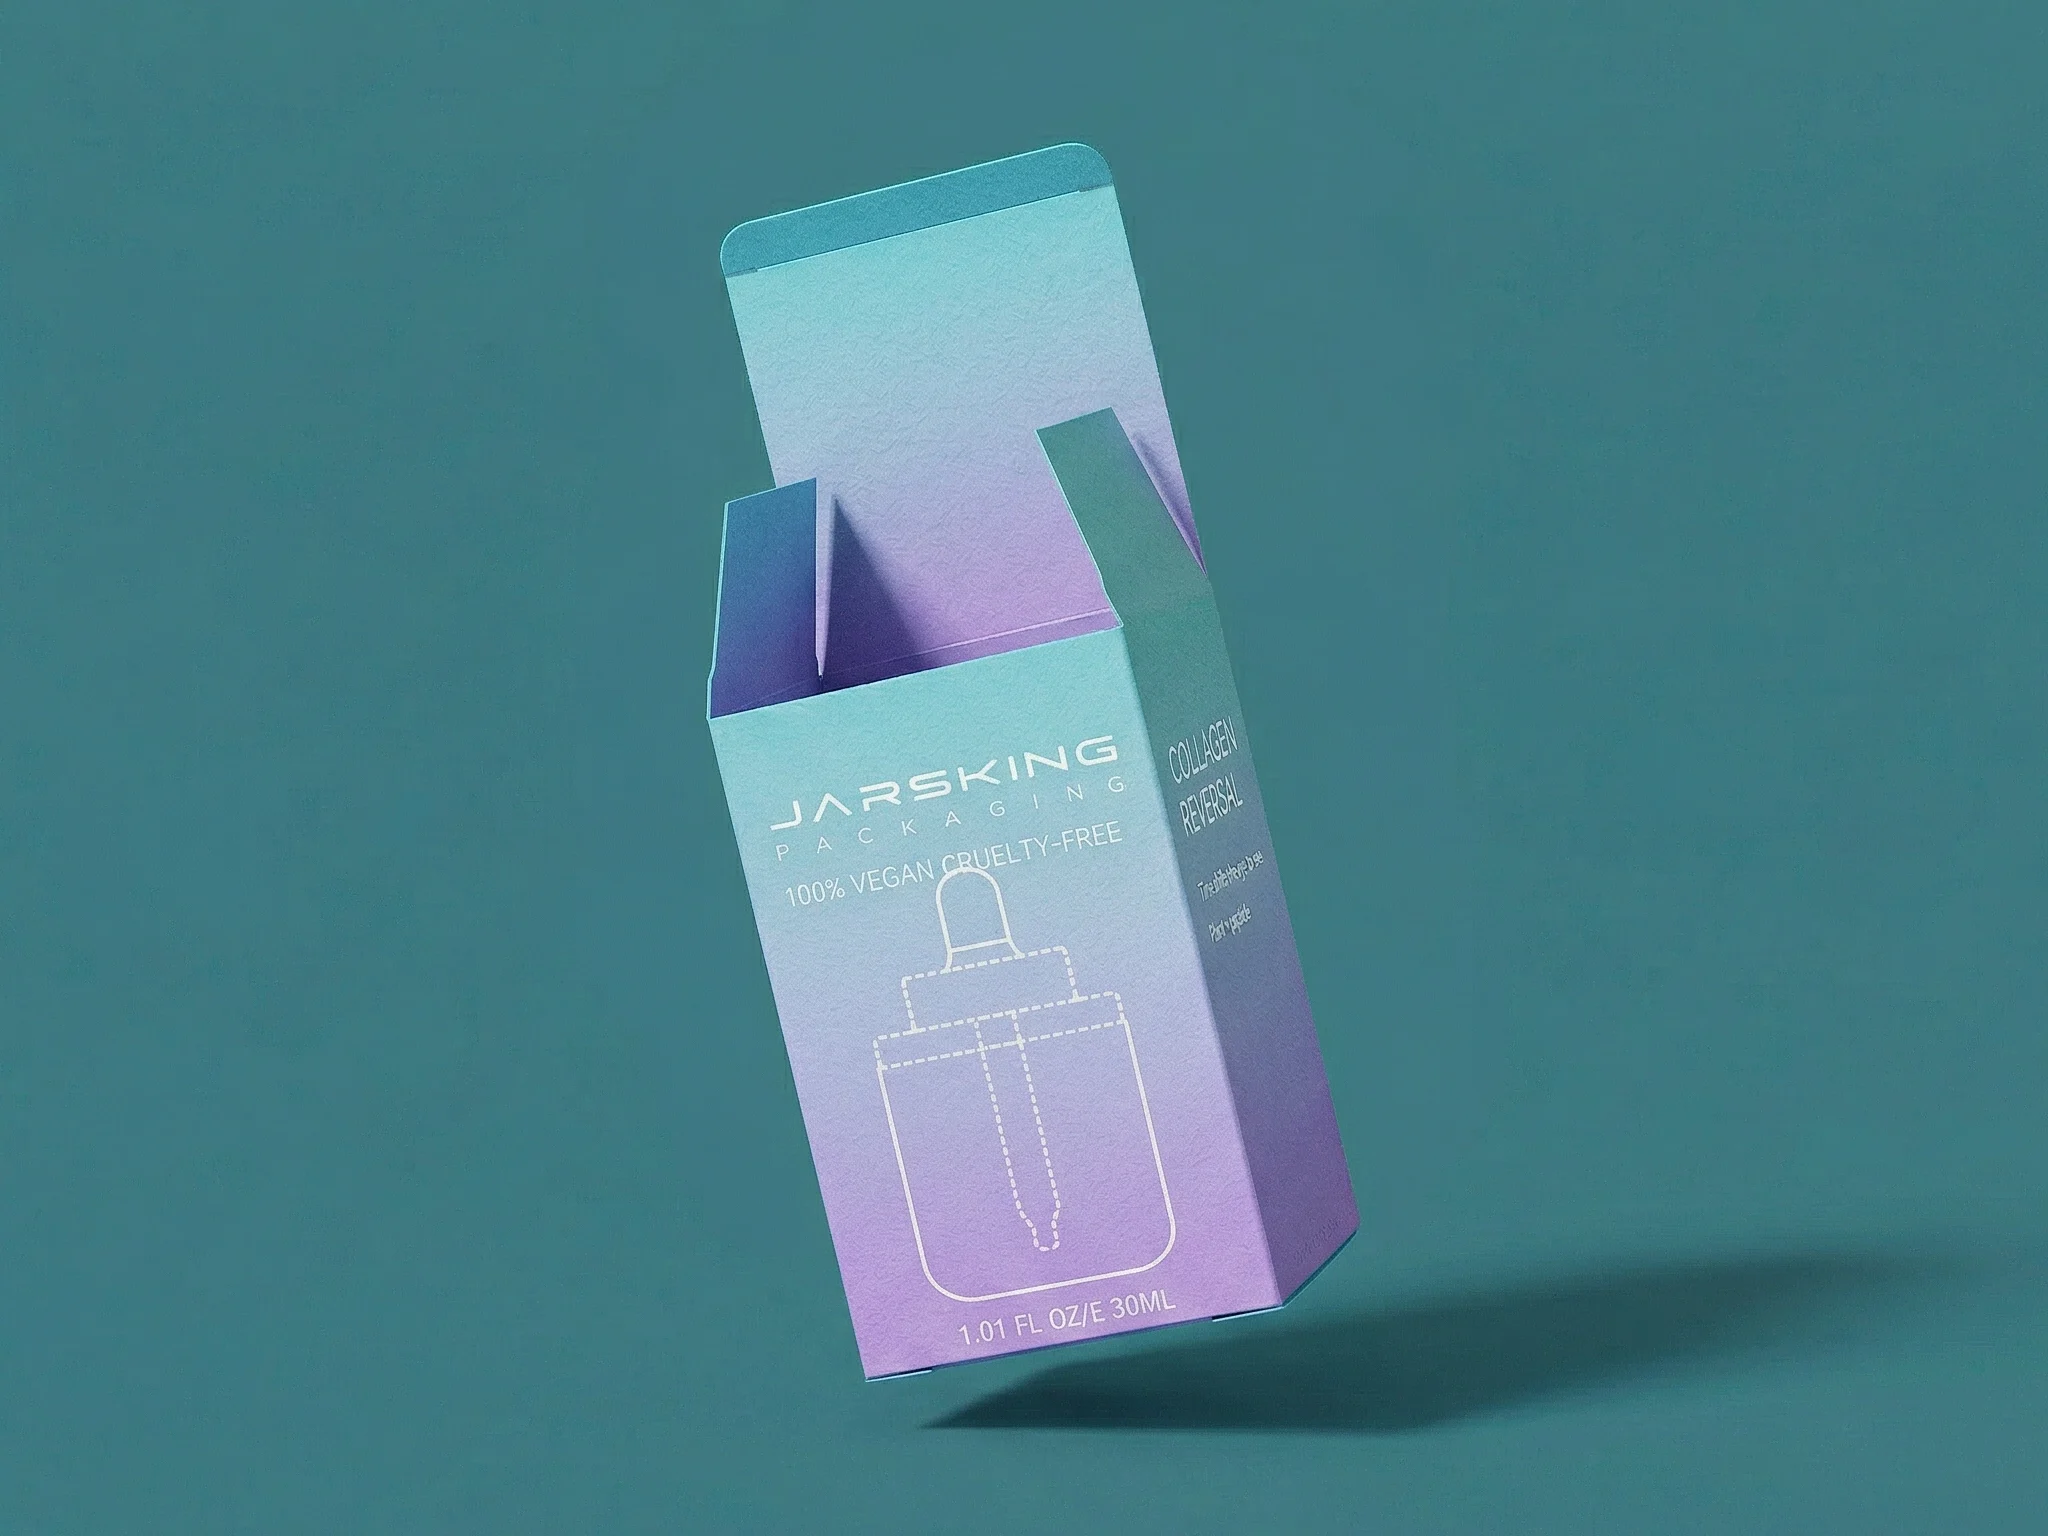
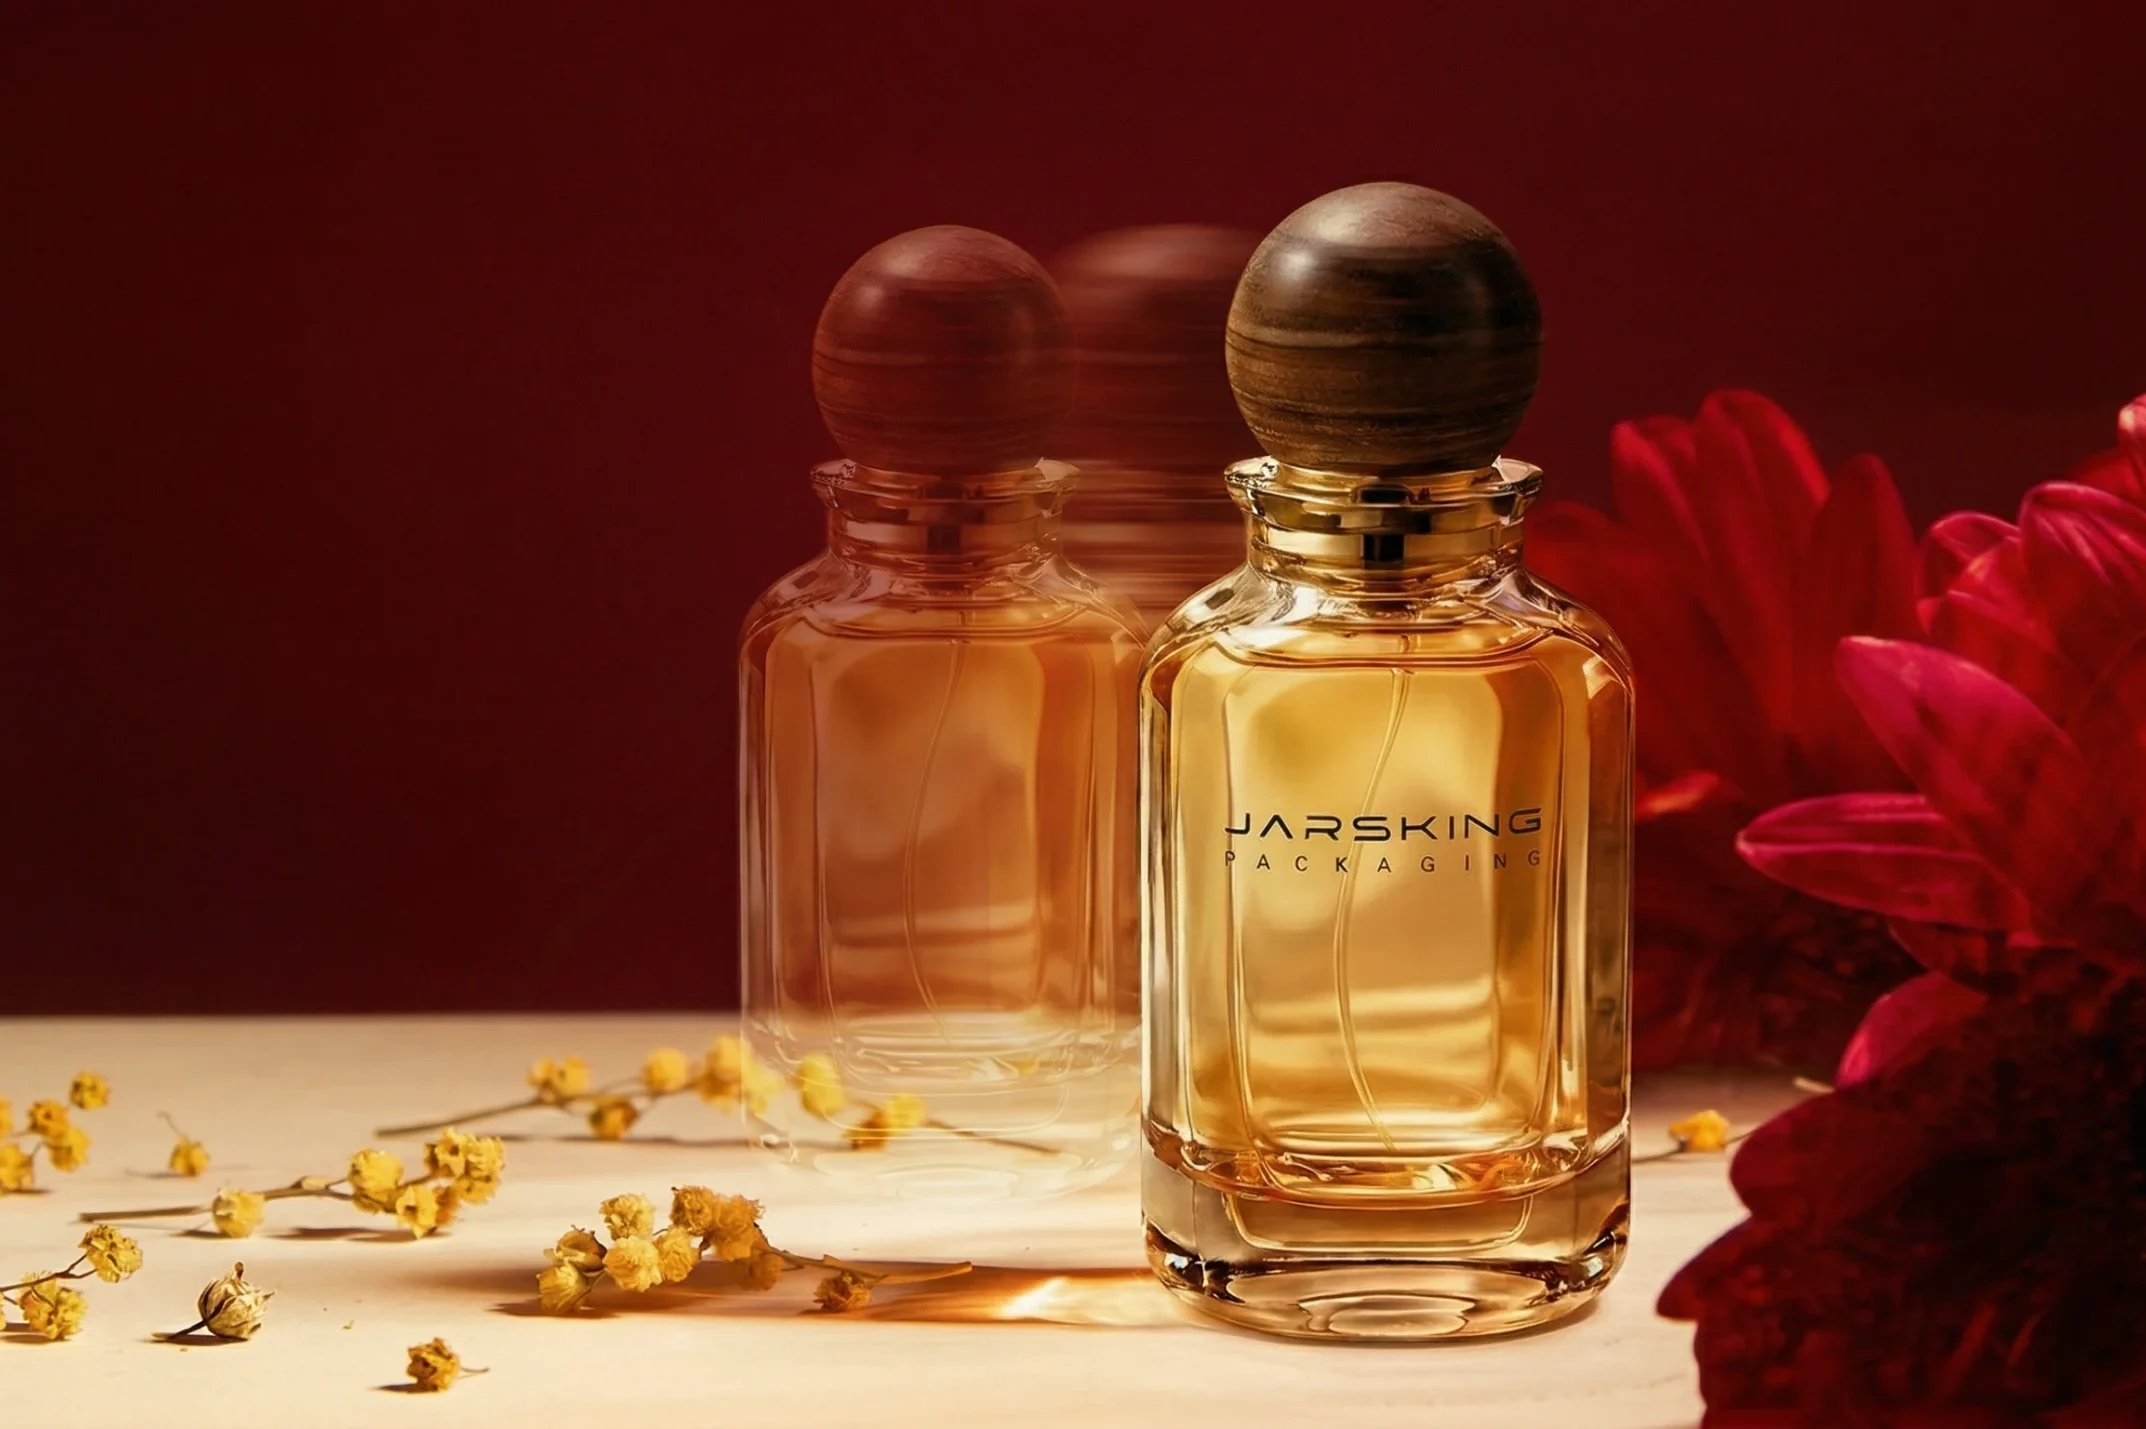
Closures, pumps, sprayers, droppers and applicators — matched to the neck finish of any Jarsking bottle or jar.
A Jarsking cobre todos os mercados de cosméticos, cannabis e perfumes. Peça soluções personalizadas aqui!
A fábrica de embalagens cosméticas preferida do mundo para marca personalizada. Falar com a Equipe Jarsking
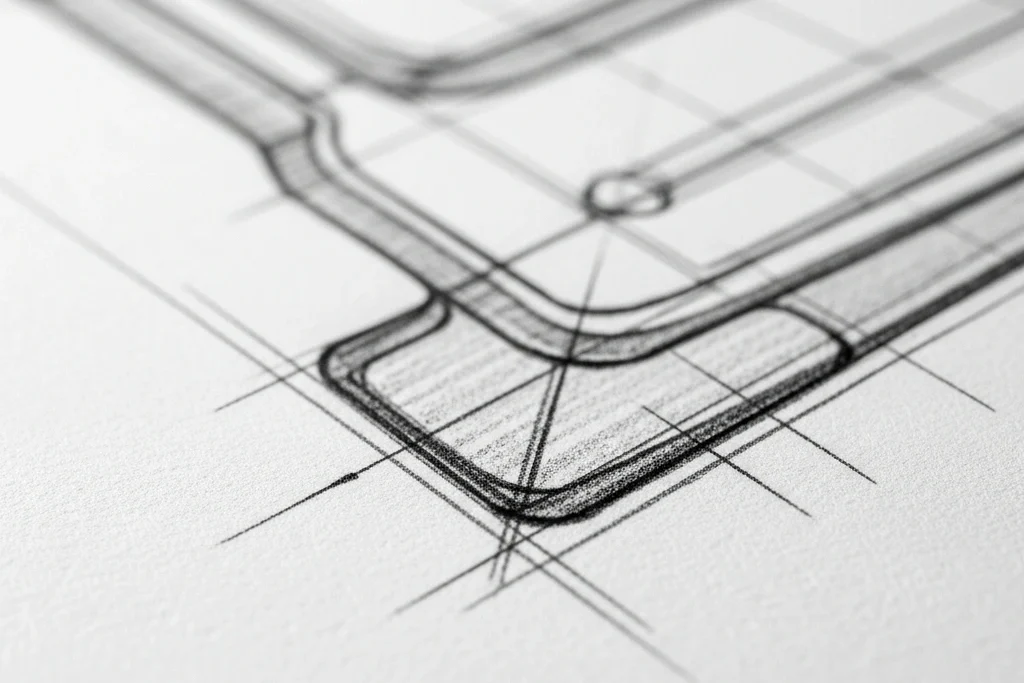
Turn an original packaging concept into a repeatable production system with Jarsking’s integrated custom bottle molding and tooling services. From structural design and prototyping to steel mold fabrication, trial production, validation, decoration, and bulk delivery, our teams coordinate the complete glass or plastic packaging program—reducing handoff delays while strengthening quality, consistency, and control.
Before commissioning new tooling, we assess whether your project can use one of our 30,000+ existing molds, adapt a proven packaging platform, or requires a fully custom private mold.
Most packaging suppliers outsource mold development to external toolmakers, creating handoff delays, version control gaps, and IP exposure. When your mold is built and held in-house, your brand’s unique bottle silhouette stays protected — and every production run pulls from the same validated tooling.
Structural engineers and mold designers collaborate directly, eliminating translation errors between concept and production spec.
Small trial batches catch issues before you’re committed to 50,000 units.
Repurpose proven preform structures to cut tooling costs and compress timelines.
Molds are held exclusively in Jarsking’s facility; no third-party access.
Priority scheduling on in-house tooling vs. queuing at external toolmakers.
Explore Jarsking’s custom bottle molding capabilities across glass and plastic packaging. From material selection and molding processes to closures, structural development, decoration, and quality planning, we coordinate each requirement as one production program. The overview below helps buyers compare available options, development routes, and project-specific commercial requirements before requesting quotations.
| Parameter | Available options |
|---|---|
| Packaging types | Bottles, jars, vials, caps, overcaps, collars, pumps, sprayers, droppers, and related components |
| Primary materials | Glass, PET, PE, and PP; other materials are evaluated per project |
| Production processes | Glass container forming, plastic injection molding, stretch blow molding, extrusion blow molding, and component assembly |
| Development routes | Existing mold, modified platform, OEM, ODM, and fully custom OBM |
| Closures | Screw, snap-on, crimp, pump, sprayer, dropper, disc cap, and project-specific dispensing systems |
| Structural customization | Bottle silhouette, capacity, neck finish, wall structure, base, closure interface, embossing, and debossing |
| Color and decoration | Pantone color matching, coating, frosting, screen printing, hot stamping, metallization, labeling, and related finishes |
| Quality planning | Dimensional inspection, functional testing, compatibility testing, AQL sampling, and lot traceability as applicable |
| Existing-mold MOQ | 10,000 pieces per SKU |
| Custom-mold MOQ | 30,000–50,000 pieces per SKU, confirmed per project |
A private mold is production tooling developed for a bottle or component that is not selected directly from an existing shared mold library. It may create a proprietary bottle silhouette, structural feature, closure interface, embossing pattern, or complete packaging system.
normally uses an existing bottle or jar customized with the brand’s color, logo, decoration, and secondary packaging
requires new structural tooling to produce an original physical form
retains proven elements—such as a neck finish, preform, closure platform, or base structure—while modifying parts of the design
Ownership, exclusivity, permitted use, storage, maintenance, modification, and transfer terms should be stated clearly in the tooling quotation and agreement.
Many buyers compare the tooling charge with the price of one finished bottle. However, these costs cover different activities.
| Term | What it covers | When the cost occurs |
|---|---|---|
| Product design | Appearance, proportions, user experience, and brand expression | Development stage |
| Structural engineering | Capacity, wall structure, neck fit, closure interface, mold release, and manufacturability | Before tooling |
| Tooling | Engineering and manufacturing the production mold system | Mainly an upfront investment |
| Molding | Operating the approved tool to manufacture bottles or components | Every production order |
| Decoration | Coating, printing, frosting, metallization, hot stamping, or labeling | Every production order |
| Testing and QC | Dimensional, visual, functional, compatibility, and shipment checks | Development and production |
A production mold is therefore not simply a metal copy of the bottle. It is a working manufacturing system designed to form the product consistently over repeated production cycles.
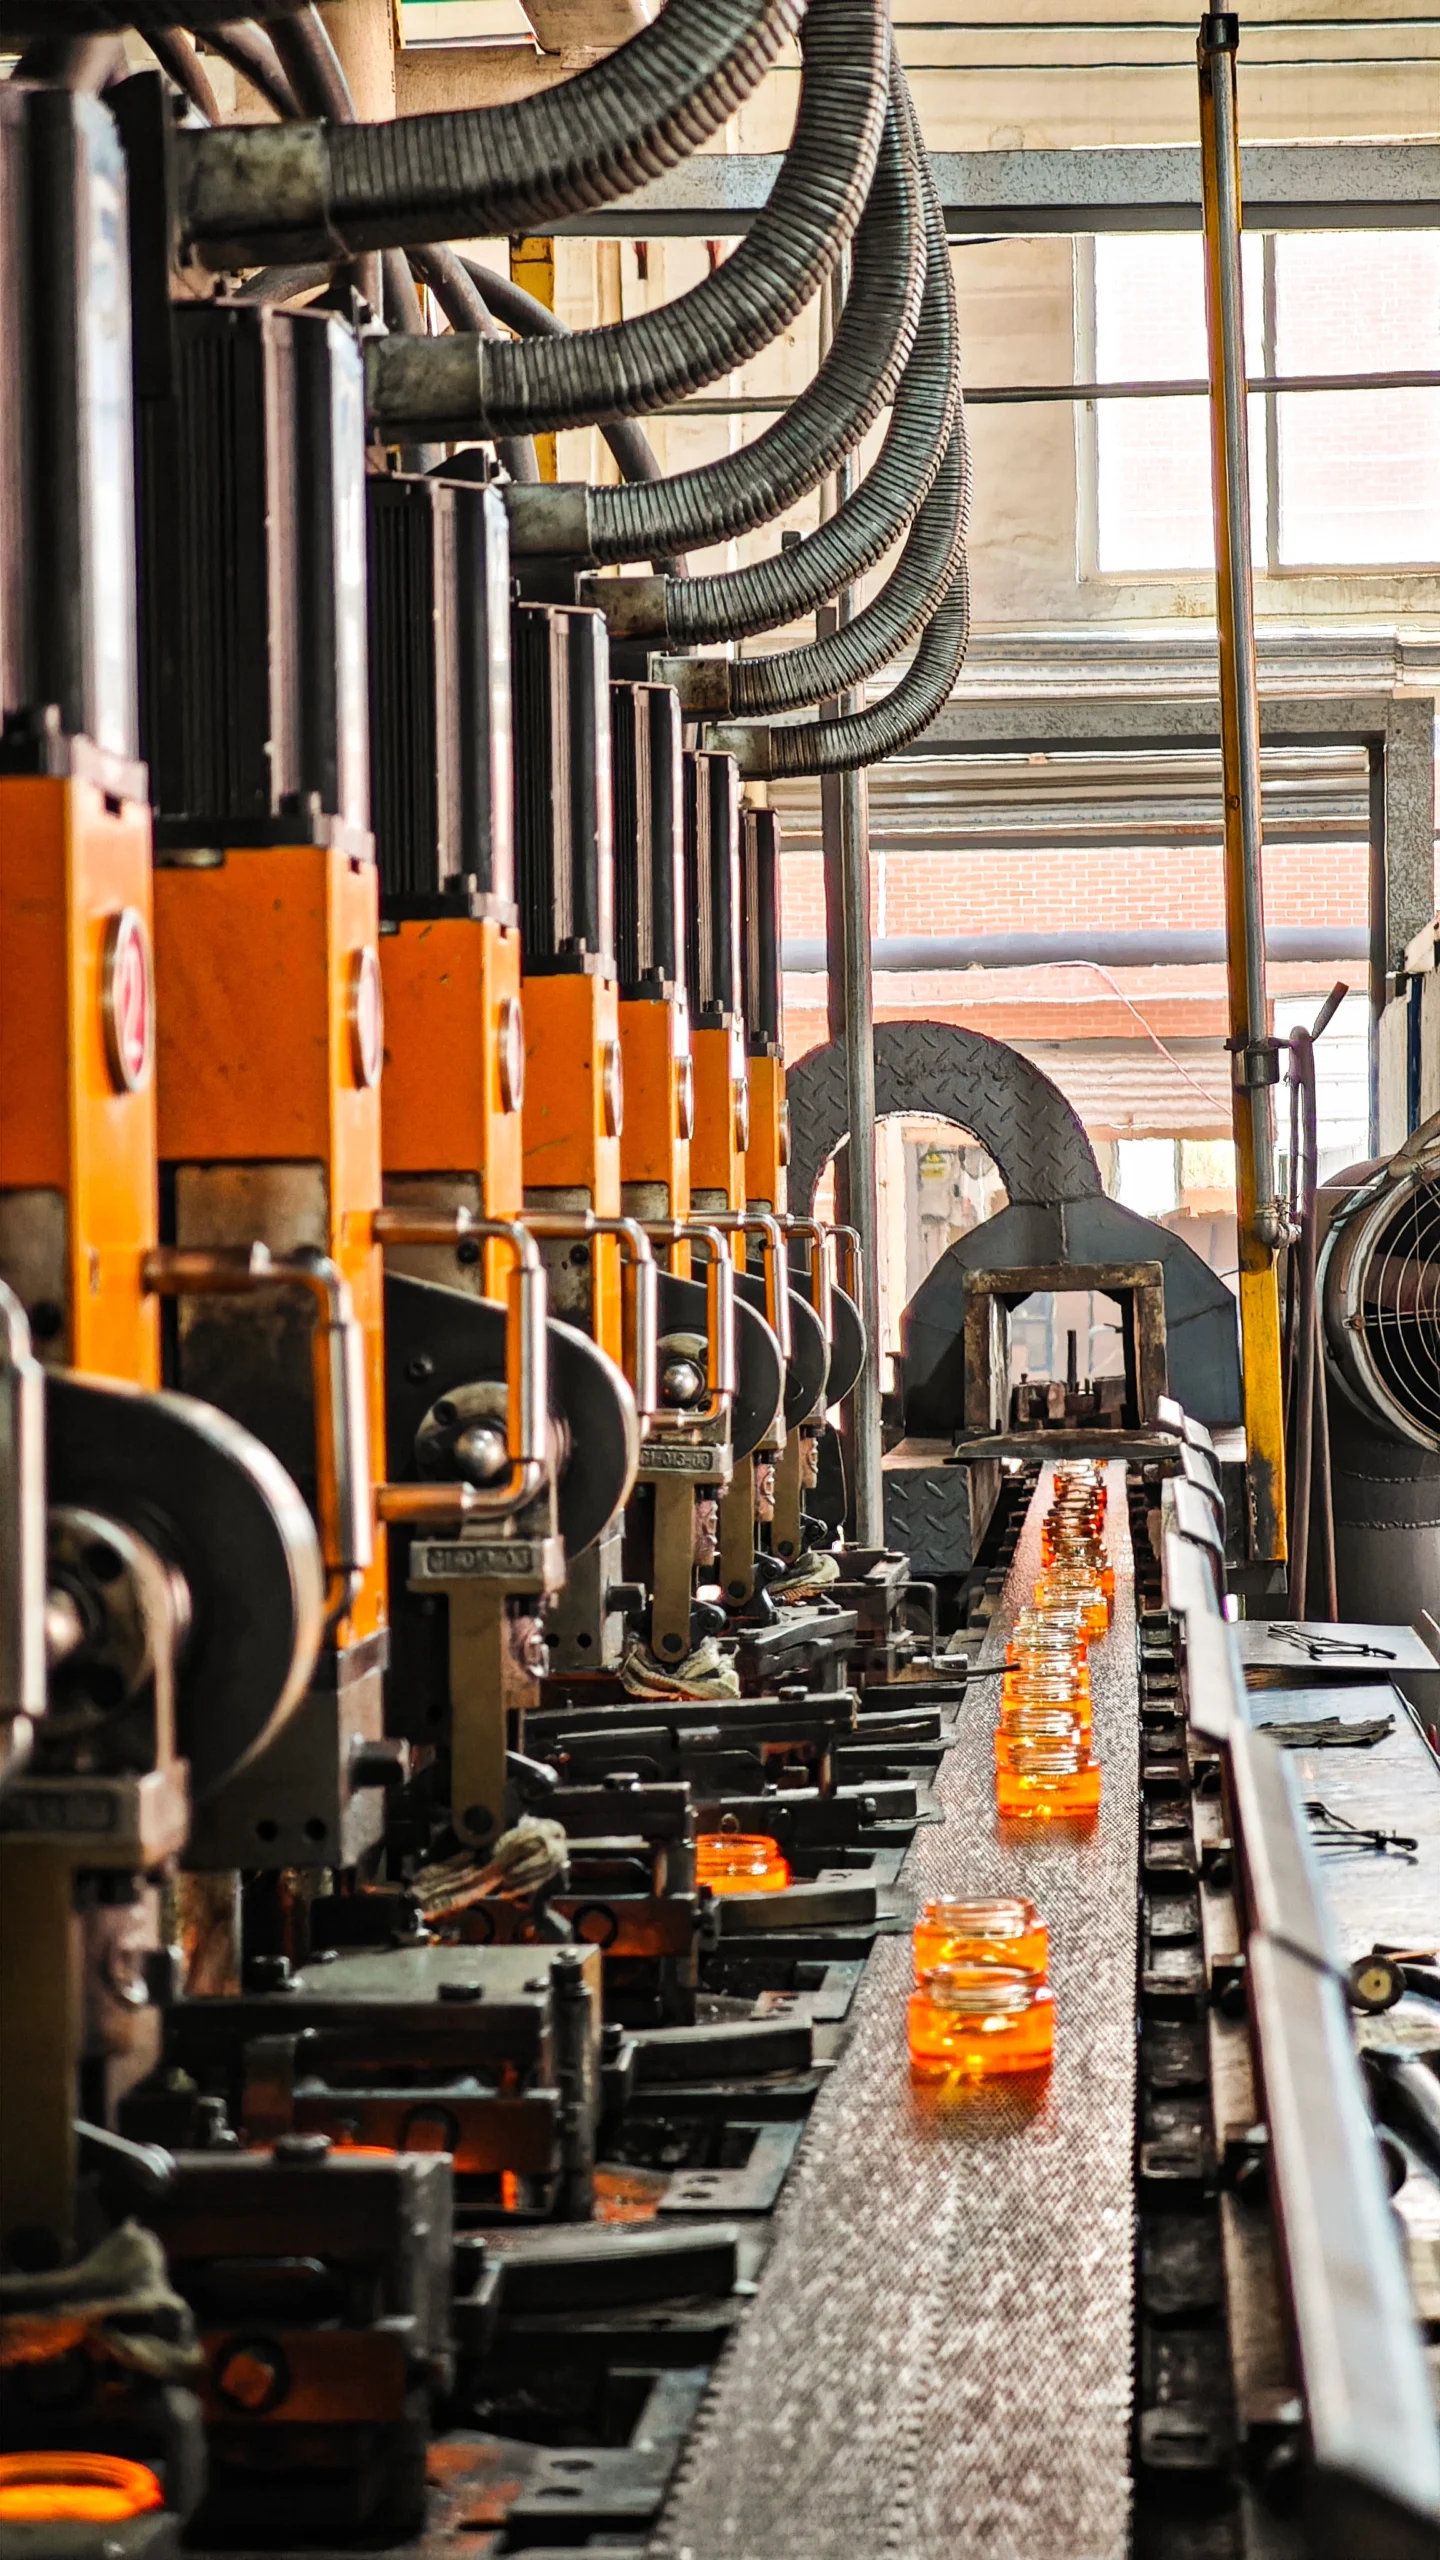
The correct forming process depends on the packaging material, bottle geometry, closure system, formula, decoration, production volume, and performance requirements. Glass bottles and plastic bottles should not be treated as if they use the same process or tooling.
Raw-material melting → glass gob forming → blank mold → parison → transfer → blow mold → annealing → inspection
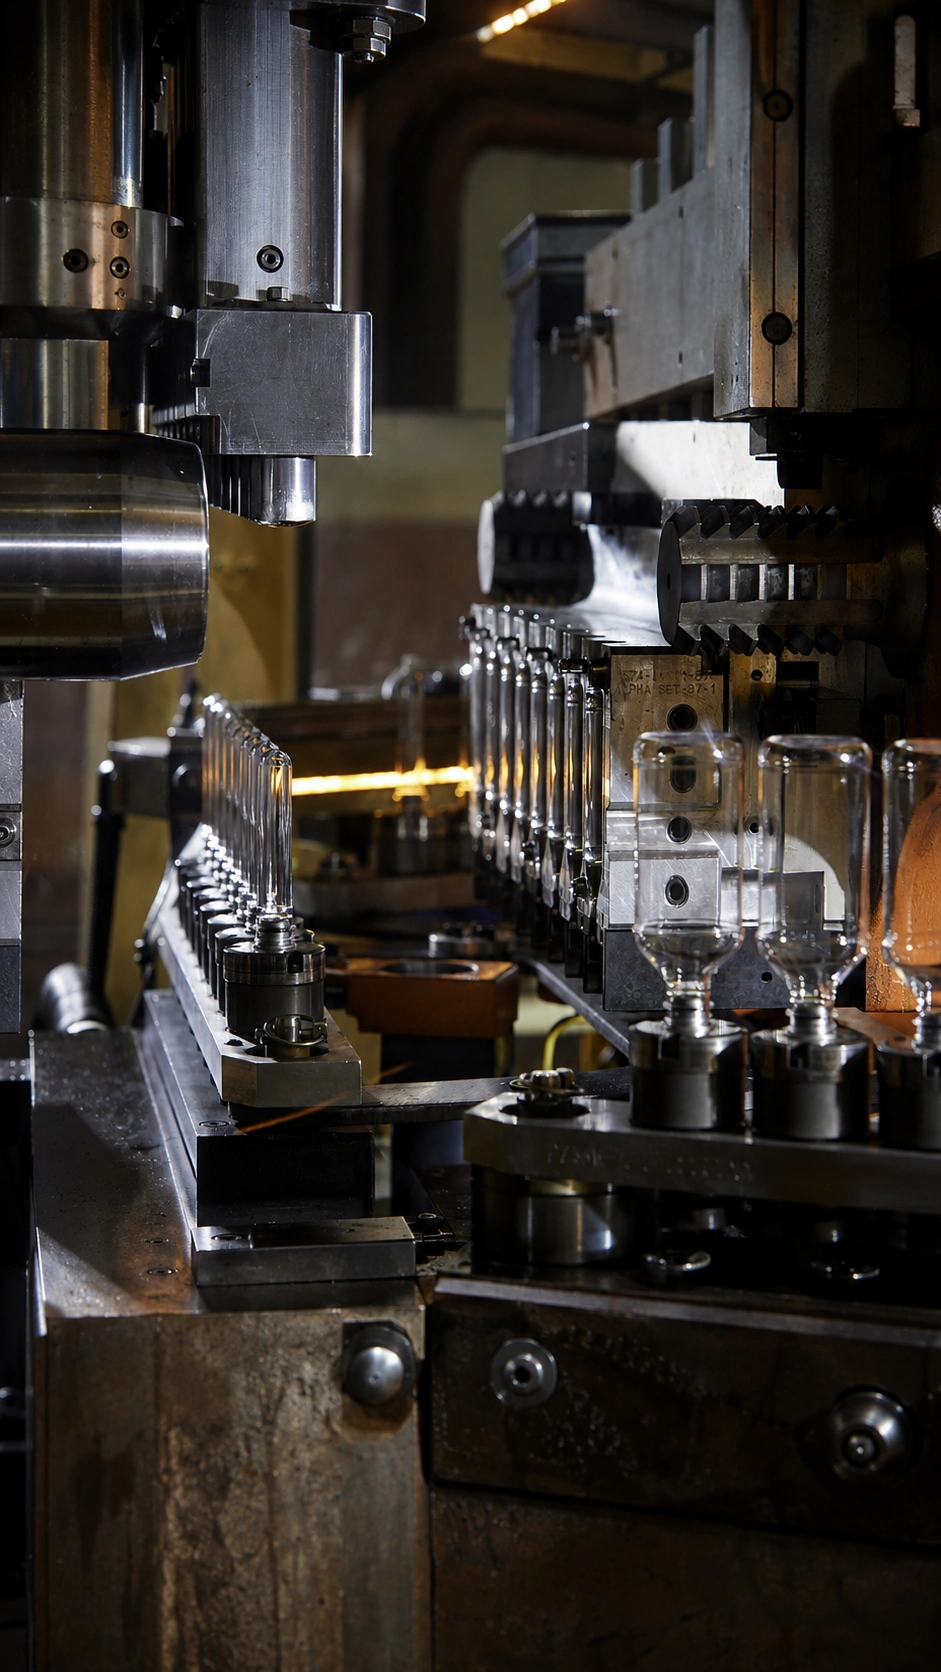
During glass container production, a measured portion of molten glass—called a gob—enters the first forming station. The blank mold creates an intermediate container form called a parison. That parison is transferred to the final blow mold, where air pressure forms it against the mold surface.
Blow-and-blow and press-and-blow are two established glass-forming methods. The selected method depends on the container format, neck, geometry, weight, production line, and required glass distribution.
A glass bottle tooling package may include several matched pieces of mold equipment:
These pieces must work together accurately. Their junctions influence seams, neck formation, base geometry, surface appearance, and dimensional consistency. This is one reason custom glass tooling is more complex than making a single bottle-shaped cavity.
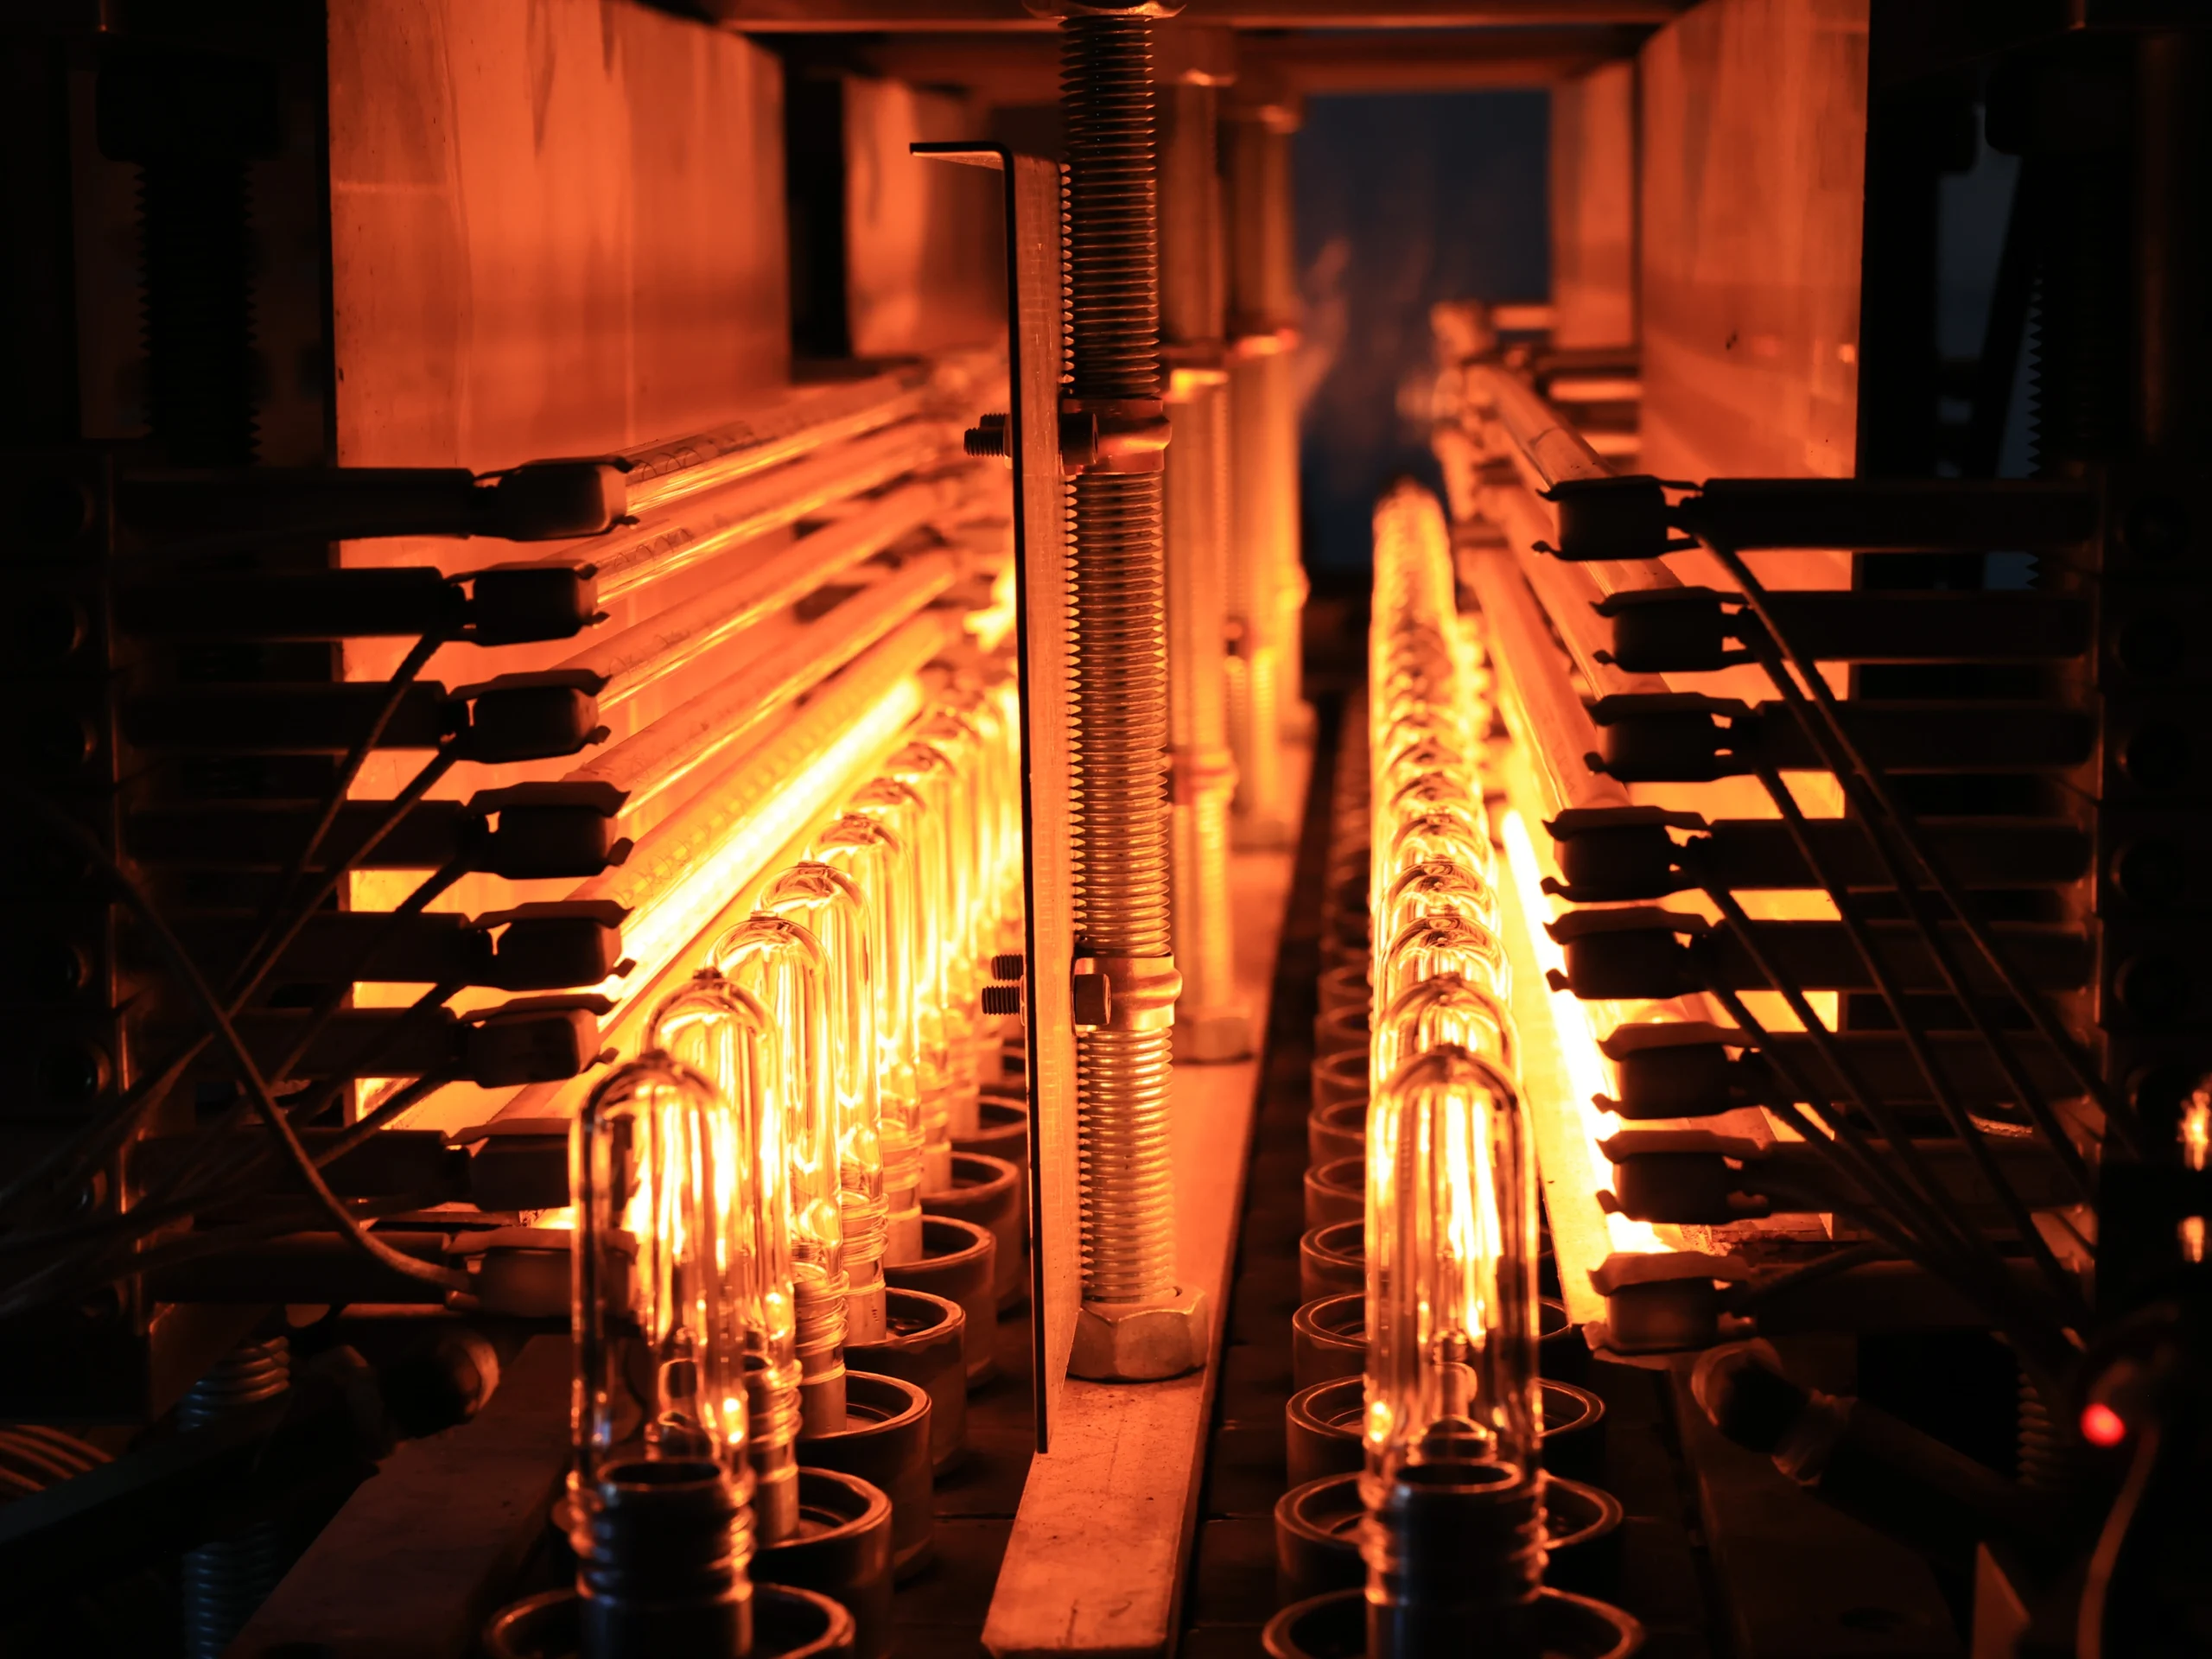
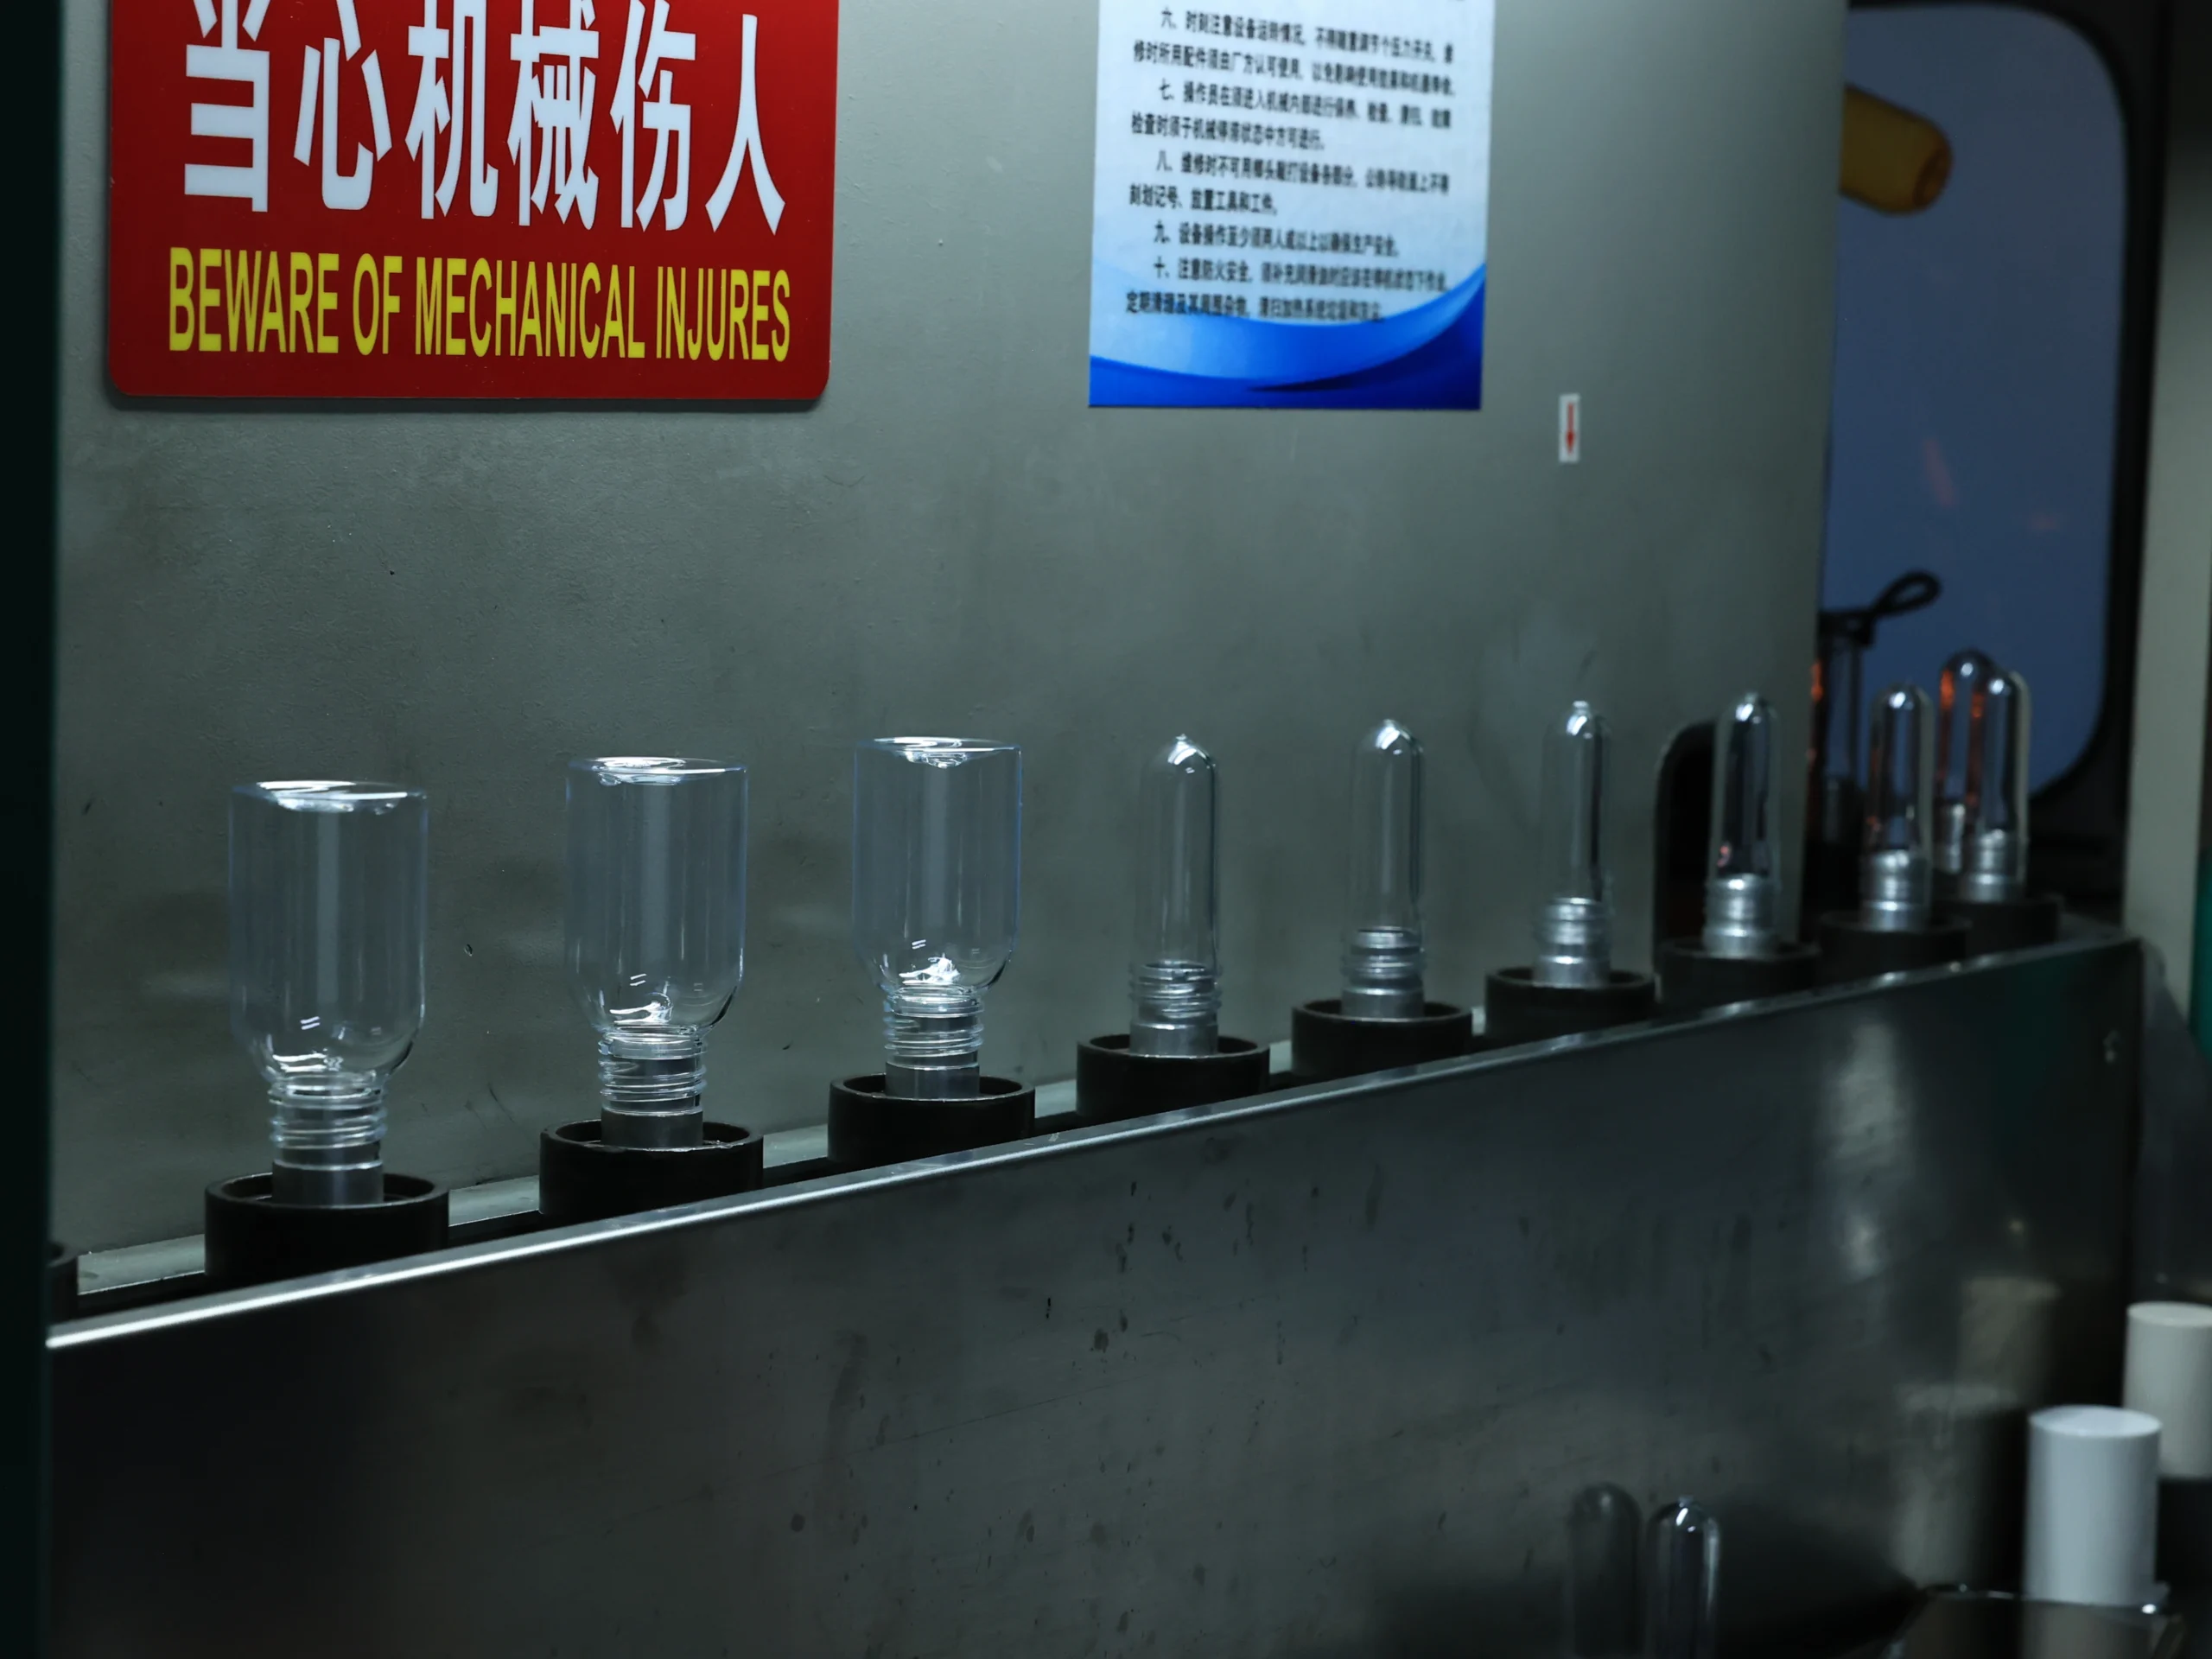
PET resin → injection-molded preform → reheating → stretching → high-pressure blowing → cooling → inspection
A PET bottle normally begins as a preform: a compact, tube-shaped part made by injection molding. Its neck finish is formed at this stage.
The preform is reheated and placed inside the bottle mold. A stretch rod extends it vertically while high-pressure air expands the material outward against the mold wall. This simultaneous axial and radial stretching helps develop the final bottle’s strength and material distribution.
Depending on the project, custom development may require:
Preform weight, neck dimensions, bottle proportions, material distribution, and blow conditions must be evaluated together. A visually attractive bottle mold cannot compensate for an unsuitable preform design.
Resin melting → hollow parison extrusion → mold closing → pinch-off → air blowing → cooling → opening → trimming → inspection
In extrusion blow molding, heated plastic is extruded as a hollow tube called a parison. The two mold halves close around it, seal the lower area, and define the outer bottle shape. Air then expands the material against the mold walls.
The tool must control:
This process is frequently considered for squeezable and functional packaging made from materials such as PE or PP. Final suitability depends on the formula, bottle design, dispensing system, decoration, and filling requirements.
Clamping → material injection → packing → cooling → mold opening → ejection
Injection molding is used for many rigid packaging components, including caps, overcaps, collars, jar parts, actuator components, and dispensing-system pieces.
Molten resin is injected into a closed metal mold. After the component cools and stabilizes, the mold opens and the part is ejected.
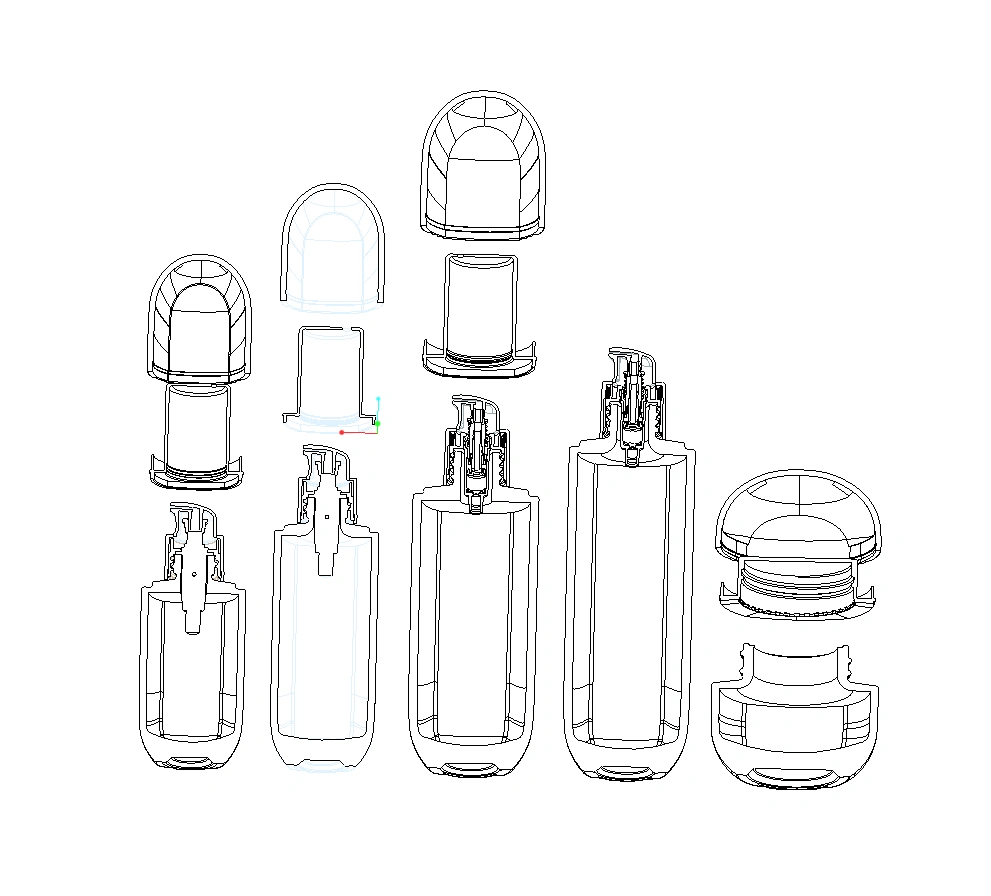
A complete packaging system may therefore require several tools:
A custom package should be budgeted as a system, not only as its most visible bottle.
From first brief to production-ready bottle — here’s exactly how each stage works, what you’ll need to prepare, and what to expect at every step.
This is the conversation that sets the entire project up for success. You’ll share your brand vision, and our product development engineers will immediately assess whether your concept is manufacturable — and at what cost.
Target fill volume (e.g., 30ml, 50ml, 100ml)
Material preference — glass, PET, PE, or PP
Decoration intent — frosted, coated, hot-stamped, screen-printed
Retail channel — luxury countertop, e-commerce shipper, pharmacy shelf
Reference images, mood boards, or a competitor sample you admire
A written Feasibility Summary outlining recommended material, estimated tooling cost range, and structural constraints
A clear recommendation: Can your concept use an existing mold from our 30,000+ library, or does it require new steel tooling?
Vague briefs produce vague quotes. The more specific your brief, the more accurate our feasibility timeline and cost estimate will be.
If you have a hard launch deadline, state it here — it determines which mold path (OEM ODM OBM) is right for you.
Screen captures of colors are not accepted for color specs. Have Pantone codes or a physical reference sample ready before Stage 3.
This is where your bottle takes visible shape. Our designers produce photorealistic 3D renders while structural engineers simultaneously validate the architecture behind the beauty.
Photorealistic 3D renders from multiple angles, with realistic lighting and surface finish simulation
Engineering specification sheet covering: wall thickness, draft angles, parting line placement, and neck finish specs
Material compatibility note — confirming the chosen resin or glass composition is compatible with your target formula
Review renders and give consolidated feedback. Avoid giving feedback in multiple rounds from different stakeholders — consolidate your team’s input into one marked-up document per revision round to prevent scope drift and delays.
Confirm label area dimensions, cap fitment type (screw, snap, crimp), and any surface texture requirements.
Design details that look great in 3D can create manufacturing challenges. If our engineers flag a concern (e.g., undercuts, extremely thin walls, sharp internal corners), take it seriously — these will affect yield rates and unit cost at mass production.
Requesting major silhouette changes after engineering sign-off restarts the clock. Lock in the overall shape before requesting detail refinements.
Before any steel is cut, you will hold a physical prototype of your bottle. This is a 3D-printed or rapid-tooled sample — not production material — designed purely for evaluating form, proportion, ergonomics, and label fit.
Fill the prototype with your actual formula (or a water-based proxy of the same viscosity) to check dosing feel and leak performance.
Test against your secondary packaging — does the bottle fit your carton depth? Does the cap clear the box lid?
Sign a physical approval form confirming the 3D form, proportions, and neck finish before tooling begins
One prototype unit (additional units available on request)
A spec confirmation document listing final agreed dimensions — this becomes the binding reference for mold machining
The prototype material (not production resin or glass) will feel different in weight and surface texture. Evaluate shape and proportion only — not final tactile feel or clarity.
This is your last low-cost change window. Any structural changes requested after the prototype sign-off will require a new prototype round and will delay the steel mold start date.
If your team needs consumer testing at this stage, allow extra time before signing off — do not rush the approval.
This is the longest single stage — and the most critical. Our toolmakers CNC-machine the production mold to micron-level tolerances based on the signed-off specification.
Confirm your initial order volume before tooling begins — this determines cavity count (single-cavity vs. multi-cavity mold), which directly affects your per-unit cost at mass production.
Issue your tooling deposit payment. Mold fabrication does not begin until the tooling payment is received.
Provide vector artwork files (AI or PDF) for any surface engraving or embossing on the bottle body.
Progress photos at mid-point machining (approx. Day 20) and upon mold completion
A mold ownership certificate issued to your brand upon full payment
NDA-backed IP protection — your mold is held exclusively in our facility, the customer archival storage room, and never shared with third parties
Do not request design changes during mold machining. Any structural modification after steel cutting begins requires remachining, which adds 15–20 days and a cost surcharge.
If your order volume is likely to grow, discuss multi-cavity tooling upfront — it’s far more cost-effective to machine a 4-cavity mold now than to add cavities to existing steel later.
Keep your project manager informed of any changes to your target decoration or cap fitment during this window, as those components are being prepared in parallel.
The mold produces its first real units. These trial samples are made from your actual production material — the first true representation of what your customers will hold. This stage is the final quality gate before full-scale manufacturing begins.
Receive the trial sample set (typically 30–50 units) and conduct a structured review:
Fill with your actual formula and check for leakage, compatibility, and dispensing performance
Apply your label or decoration and evaluate surface adhesion and visual alignment
Submit to any required drop tests, UV exposure tests, or retailer compliance checks
Provide written sign-off (email confirmation is sufficient) approving the trial batch for mass production.
Trial sample set with full QC inspection report: dimensional measurements, surface defect AQL rating, and functional performance data
Any mold adjustments required based on trial feedback — minor adjustments (polish, texture, dimensional tuning) are included within the project scope
Production timeline confirmation: your mass production start date is locked once sign-off is received
Allow yourself sufficient internal review time before signing off. Once mass production starts, no structural changes are possible.
If your formula has specific chemical compatibility requirements (e.g., high-alcohol content, active acids), ensure your fill test uses the real formula — not a placeholder.
Compliance documents should be reviewed at this stage. If your bottle needs to meet specific drop-test or labeling standards, flag them before sign-off, not after.
The customer is not paying only for the visible bottle shape. Tooling cost covers the engineering and manufacturing system required to reproduce that shape reliably at production scale.
Engineers must convert a visual concept into a structure that can be filled, sealed, cooled, released, decorated, assembled, shipped, and produced consistently.
This requires decisions about:
A design error does not affect only one sample. It can repeat across every unit produced from the mold.
A mold can include much more than two bottle-shaped halves.
Depending on the process, the tooling system may need:
Every additional component must be designed, machined, fitted, tested, and maintained.
Production tools experience repeated cycles of heat, pressure, cooling, clamping, opening, and closing.
The appropriate mold material depends on:
Longer-life tooling normally requires more demanding material preparation, machining, finishing, and validation.
Tooling cost rises when the design includes:
For injection-molded components, undercuts may require moving mechanisms such as side actions. These increase the mold’s size, number of components, engineering time, and machining work.
A single-cavity tool produces one component per molding cycle. A multi-cavity tool produces several.
More cavities usually mean:
The correct cavity count should be based on forecast volume, target unit cost, machine capacity, and expected product life—not only the lowest upfront tooling price.
A mold does two jobs: it shapes the material and helps control its temperature.
Poor cooling can contribute to:
Cooling circuits require engineering and machining, but they influence both bottle quality and long-term production efficiency.
Premium packaging often requires high-gloss, transparent, textured, engraved, or otherwise visually sensitive surfaces.
The corresponding mold may need:
A small defect in the mold surface can be transferred to every molded component.
Completing the mold does not finish the development process. The tool must be installed, tested, measured, adjusted, sampled, and approved.
A professional tooling program includes time for:
After approval, the mold must be stored and maintained for repeat production.
Ongoing responsibilities can include:
The tooling agreement should identify which services are included and which future repairs or modifications are charged separately.
| Development route | Tooling investment | Development time | Brand differentiation | Quantidade mínima de pedido (MOQ) |
|---|---|---|---|---|
| Existing mold with custom decoration | Lowest | Shortest | Color, finish, branding, closure, and secondary packaging | 10,000 pcs/SKU |
| Modified or semi-custom platform | Project-dependent | Medium | Selected structural changes while retaining proven elements | Confirm per project |
| Fully custom private mold | Highest | Longest | Original bottle or packaging-system structure | 30,000–50,000 pcs/SKU, confirmed per project |
Jarsking’s ODM route provides access to 30,000+ ready-to-use molds combined with custom CMF—color, material, and finish—and brand decoration.
The exact scope, MOQ, and lead time must be confirmed after engineering review.
Jarsking’s OBM route supports project-based, design-led co-development spanning industrial design, structure, CMF, testing planning, and production industrialization.
Custom tooling is a precision production system, not simply a bottle-shaped block of metal. Its cost may include structural engineering, core and cavity design, forming components, mold material, CNC machining, cooling, venting, polishing, assembly, machine trials, measurement, correction, validation, and production documentation. Complex geometry, more cavities, moving mold components, tight tolerances, and premium surfaces increase the investment.
The MOQ for packaging made from an existing Jarsking mold is 10,000 pieces per SKU. The MOQ for a fully custom mold is generally 30,000–50,000 pieces per SKU, with the final requirement confirmed according to the project, material, tool structure, decoration, and production plan.
Tooling is generally an upfront development investment, but the quotation should define exactly what it includes. Later structural modifications, replacement inserts, major repairs, wear components, transfers, or new cavities may create additional costs. Storage and maintenance terms should also be confirmed in the tooling agreement.
A prototype is mainly used to evaluate shape, proportions, ergonomics, visual appearance, label area, and basic component arrangement before production tooling. A production-molded sample is made with the actual tool and intended production material. Leakage, compatibility, final surface quality, shrinkage, dimensional performance, and mass-production suitability should be evaluated using appropriate production samples and testing.
Not always. Some projects can use a compatible existing preform and require only a new bottle blow mold. Other projects need a custom preform because of the bottle’s neck, weight, proportions, wall distribution, or performance requirements. Jarsking determines the appropriate tooling scope during the feasibility review.
Mold ownership, exclusivity, storage, permitted use, maintenance, repair, modification, and transfer rights should be defined in the project quotation and tooling agreement. Do not assume that every supplier uses the same policy. Ask for these terms in writing before authorizing the tooling payment.
17º Andar, Torre Leste, Edifício 2,
Centro de Inovação Yiyun Tech,
Nº 33-13, Rua Jinshi Terceira, Rua Dayuan,
Distrito de Baiyun, Cidade de Guangzhou,
Província de Guangdong, China
Sala 10, 24º Andar,
A One Tower,
943 Sheikh Zayed Road,
Barsha Heights (Al Thanyah First),
Dubai, Emirados Árabes Unidos
© Copyright 2026 Jarsking Packaging Todos os Direitos Reservados.