










Custom bottle molding turns an original packaging concept into a repeatable manufacturing system. The tooling cost is substantial because the buyer is funding more than a bottle-shaped cavity: the scope can include structural engineering, production-grade mold materials, precision machining, matched components, cooling or heat-management features, trials, corrections, validation, and long-term mold support.
The first buyer decision is therefore not “How much is a mold?” It is “What level of structural originality does this project genuinely require?” An existing mold with custom color and decoration may be sufficient. A modified platform can create stronger differentiation without rebuilding every component. A fully custom private mold makes sense when a proprietary silhouette, function, or long-term brand asset justifies the investment.
This guide explains those routes, follows a bottle from brief to mass-production release, compares glass and plastic molding methods, breaks down bottle mold cost, and shows how to control investment without compromising production readiness.
Key takeaways
– Customized packaging does not automatically require new tooling.
– The bottle, neck, closure, dispenser, decoration, carton, and filling line should be evaluated as one system.
– A visual prototype can validate form and ergonomics, but it does not prove production repeatability or formula compatibility.
– Complex geometry, more cavities, demanding surfaces, tighter tolerances, and extensive validation increase tooling cost.
– Tooling is an upfront asset; unit price is the recurring production cost. Lifetime volume determines how widely the tooling investment is spread.
– At Jarsking, the existing-mold MOQ is 10,000 pieces per SKU. Custom-mold projects are normally 30,000–50,000 pieces per SKU, confirmed per project.
What custom bottle molding actually includes
Custom bottle molding is the engineering and manufacturing work required to form a glass or plastic container repeatedly to an approved specification. It is different from graphic design, decoration, sampling, and filling, although each of those activities influences the final package.
| Workstream | Primary question | Typical output |
|---|---|---|
| Industrial design | What should the package communicate and feel like? | Silhouette, proportions, ergonomics, and color, material, and finish direction |
| Structural engineering | Can the design be formed, released, assembled, filled, and used? | CAD, wall structure, neck and base geometry, interfaces, tolerances, and design-for-manufacturing review |
| Tooling | What production system will reproduce the approved geometry? | Matched mold components, cavities, cores or inserts, thermal management, and production records |
| Molding or forming | Can the approved package be produced consistently? | Trial units, validated settings, production units, inspection data, and traceability |
| Decoration and assembly | Can the visual identity and components be applied consistently? | Coating, printing, stamping, metallization, labeling, closure assembly, and finished empty packaging |
| Filling and validation | Does the package work with the formula and operating environment? | Compatibility, stability, dispensing, sealing, transport, filling-line, and market-specific test results |
Treating these as separate purchases without an interface owner creates risk. A bottle can meet its dimensional drawing but still fit a pump poorly. A prototype can look correct but behave differently from production glass or resin. A coating can match a color reference but fail the brand’s durability requirement. For this reason, the project brief should define the complete package and its intended use—not only the bottle body.
Buyers who need structural development before tooling can review Jarsking’s [concept-to-prototype process]. Once the design is approved, the [in-house bottle molding service] covers the transition into production tooling and manufacturing.
Choose the development route before requesting a tooling quote
The lowest-risk route is the least complex option that still achieves the brand’s commercial objective. A new mold should solve a real structural or ownership need; it should not be the default response to every request for customization.
| Development route | Structural freedom | Upfront investment | Relative development time | Typical use case |
|---|---|---|---|---|
| Existing mold + decoration | Low | Lowest | Shortest | Market entry, line extension, schedule-sensitive launch, visual differentiation |
| Existing platform + selected structural changes | Medium to high | Medium | Medium | A distinctive pack that retains a proven neck, closure, or base architecture |
| Fully custom private mold | Highest | Highest | Longest | Signature silhouette, proprietary function, exclusive system, long-life hero product |
Existing mold plus decoration
This route starts with a proven bottle or jar structure and changes color, coating, frosting, printing, hot stamping, metallization, labeling, closure appearance, or secondary packaging. It preserves the strongest economies of an established production platform while still giving the brand a coordinated visual identity.
Jarsking’s 30,000+ ready-to-use molds are tooling options, not finished-goods inventory. Availability, component fit, decoration, sample timing, and the final specification must still be confirmed for each project. Buyers can review broader [custom cosmetic packaging categories] before deciding whether structural tooling is necessary.
Modified platform
A modified platform keeps selected proven interfaces while changing the features consumers notice most. For example, a project may retain a standard neck and compatible pump but develop a new outer profile, base, overcap, collar, or decorative shell. The supplier must define which components remain standard and which require new tooling; “semi-custom” is not a universal technical specification.
Fully custom private mold
A private mold creates a packaging structure for one buyer’s approved project. It can support a recognizable silhouette, special handling experience, proprietary closure relationship, or more defensible brand architecture.
However, “private” should never be assumed to answer every commercial question. The tooling agreement should state who owns the mold, who may use it, where it will be stored, what maintenance is included, how long records will be retained, whether transfer is allowed, and what happens when the tool reaches the end of its useful production life.
| Buyer question | If yes | If no |
|---|---|---|
| Do you need a new structural function or signature silhouette? | Check whether proven neck, closure, base, or inner components can be retained. | Use an existing mold with custom color, material, finish, and decoration. |
| Can proven interfaces be retained? | Modify a proven platform. | Evaluate fully custom private tooling. |
| Are lifetime volume, ownership, validation, and launch timing confirmed? | Proceed to a detailed tooling review. | Resolve the commercial and technical gaps before approving tooling. |
The custom bottle manufacturing process, step by step
A production-ready bottle usually moves through eight controlled stages. The exact sequence varies by glass or plastic process and project complexity, but the decision gates remain similar: define, engineer, prototype, tool, trial, correct, validate, and release.
1. Build a technical project brief
The brief should translate brand intent into measurable requirements. At minimum, define the product category, target fill and overflow capacities, material preference, approximate dimensions, target weight, neck and closure concept, dispensing method, decoration, filling process, distribution environment, annual volume, launch date, and destination market.
Also identify which facts are still unknown. A useful brief does not pretend every answer is fixed; it separates mandatory requirements from preferences and allows the engineering team to propose lower-risk alternatives.
2. Review feasibility and select the development route
The supplier should determine whether a ready-to-use mold already meets the functional requirements, whether a proven platform can be modified, or whether the concept needs fully custom tooling. This review should address geometry, mold release, component interfaces, achievable surfaces, likely cavity strategy, filling-line constraints, and required testing.
The result should be a recommendation—not merely a quotation. If a standard neck finish or existing dispenser can satisfy the brief, retaining that interface can reduce tool count and compatibility risk.
3. Convert the concept into engineered geometry
Industrial design defines the visible form; structural engineering converts it into manufacturable geometry. The work may include wall distribution, base structure, draft and release conditions, parting-line location, neck finish, thread or crimp interface, embossing or debossing, closure clearance, dip-tube relationship, label panel, and carton fit.
Design for manufacturing (DfM) should happen before tooling approval. A dramatic undercut, abrupt transition, very deep recess, or difficult neck may be visually attractive but require moving mold actions, secondary operations, a different forming process, or a design compromise.
4. Review renders and physical prototypes
Three-dimensional renders help stakeholders review proportion, surface finish, branding, and family consistency before physical investment. A physical prototype then supports evaluation of scale, grip, ergonomics, shelf presence, label area, cap clearance, and carton dimensions.
A prototype is not a production-equivalent package unless explicitly documented as such. Its material, weight, clarity, shrinkage, sealing surfaces, and dispensing behavior may differ from the final bottle. Use it to approve form and interfaces appropriate to the prototype method—not to waive later production-material testing.
5. Engineer and manufacture the mold set
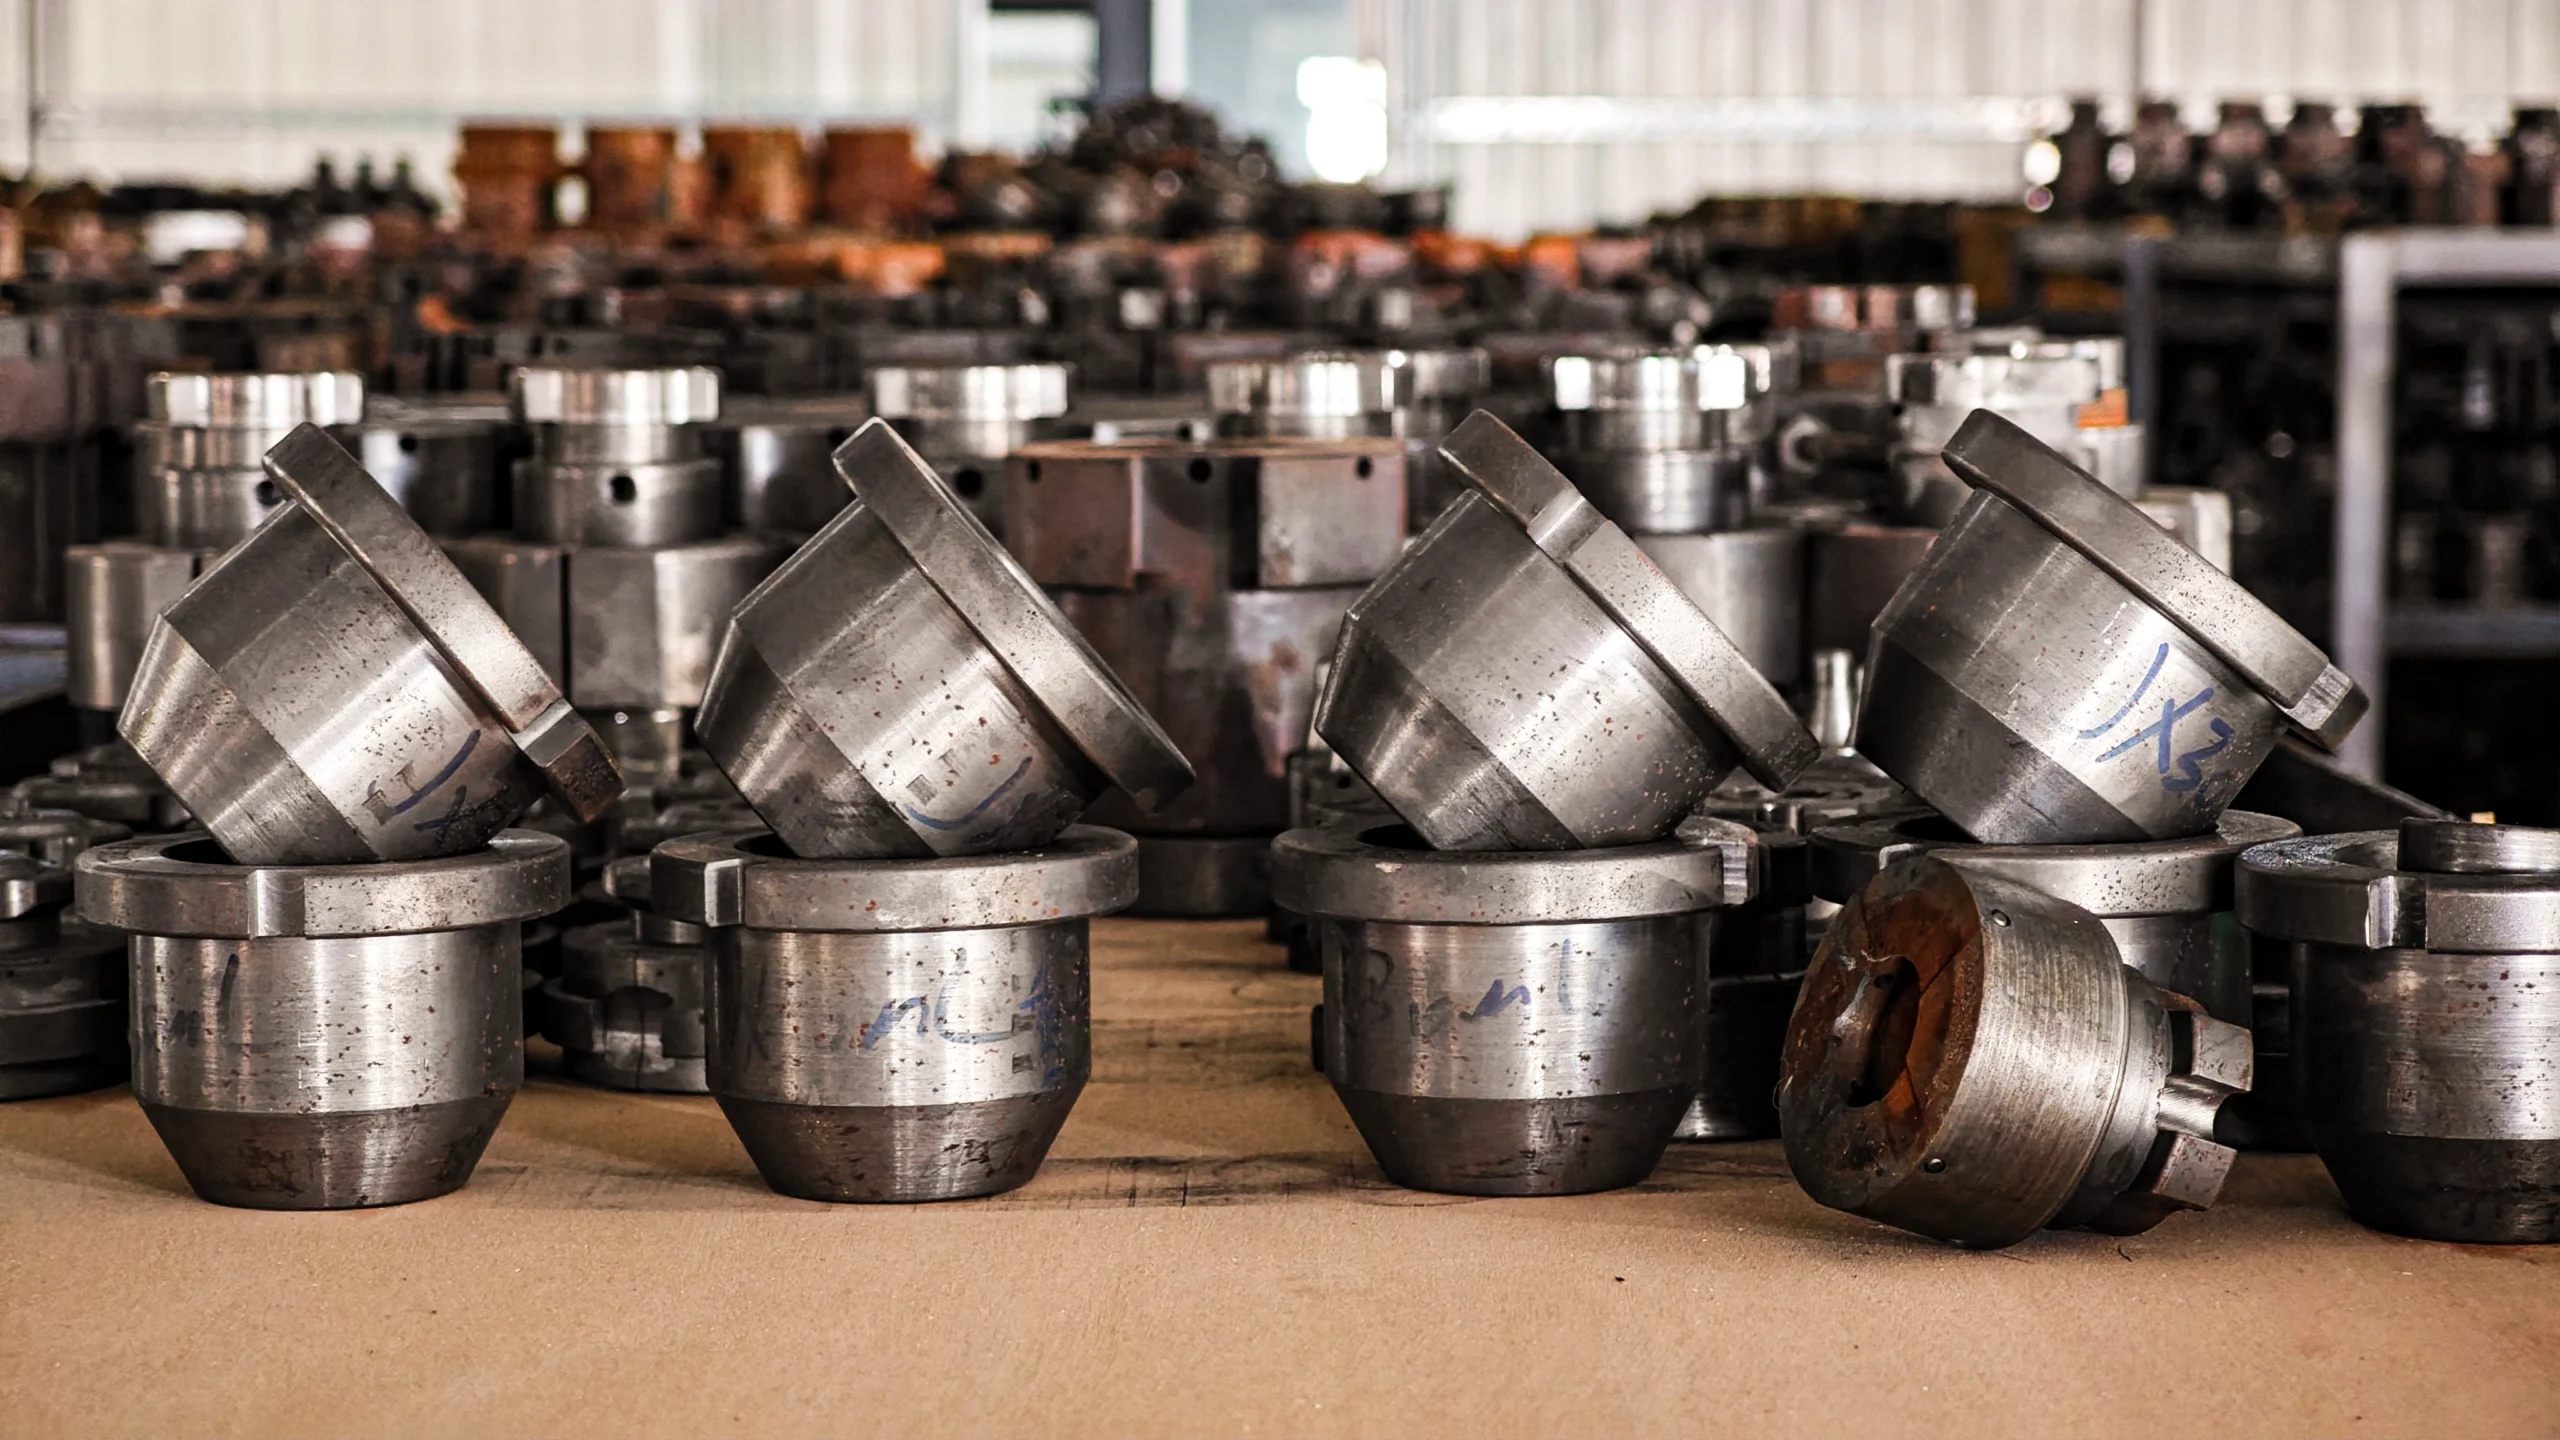
Toolmakers translate the signed geometry into production hardware. Depending on the process, the mold set may require cavities, cores, inserts, neck components, bottom plates, gates and runners, cooling circuits, ejectors, transfer features, slides, lifters, alignment hardware, vents, and replaceable wear parts.
The supplier also selects the tooling material and manufacturing route. Production steel or other mold materials must balance expected life, surface standard, machining time, repairability, thermal behavior, and the required output. High-cosmetic areas may require extensive grinding, texturing, engraving, or hand polishing after precision machining.
6. Run the first production-material trials
The first trial converts the tool from a manufactured object into an evaluated production system. Engineers install it on the intended machine, establish initial process settings, produce trial units, and inspect the result.
Review should cover dimensions, capacity, weight distribution, visual defects, parting lines, base stability, neck and closure fit, component assembly, dispensing behavior, decoration area, and any project-specific performance requirements. For glass, stress evaluation and annealing conditions may be part of the quality plan. For plastic, molding conditions, shrinkage, cooling, and ejection behavior can affect final dimensions and appearance.
7. Correct, resample, and validate
Trial results may require polishing, venting changes, insert adjustment, dimensional tuning, process changes, or a controlled design correction. The team should distinguish a tooling correction from a new design request: the first brings the output to the signed specification; the second changes the specification and may alter cost and timing.
Approval should be tied to a signed specification and a retained golden sample. Quality limits, test methods, packaging configuration, inspection frequency, and acceptable appearance boundaries should be documented before production release.
8. Release mass production and maintain the asset
Mass-production release means the bottle can be reproduced under controlled conditions—not that every future run can proceed without verification. The factory should retain tool identity, approved drawings, process records, sample references, maintenance history, and lot traceability.
Jarsking uses multi-stage quality control, lot-number traceability, and acceptance quality limit (AQL) sampling. The current [ISO 2859-1:2026] standard defines acceptance-sampling plans indexed by AQL for lot-by-lot inspection. AQL sampling does not replace process control or project-specific functional testing; it provides a structured method for judging a production lot from sampled inspection.
Glass and plastic bottles use different forming systems
Glass container forming
Container glass begins with a controlled batch commonly based on silica sand, soda ash, limestone, and cullet. The [Glass Packaging Institute](https://www.gpi.org/what-glass) describes the standard soda-lime composition used for glass containers. After melting and conditioning, a measured portion of molten glass is delivered to forming equipment, shaped through matched mold components, annealed through controlled cooling, inspected, and then decorated when required. The [Japan Glass Bottle Association’s manufacturing overview] shows this sequence from batching and melting through forming, annealing, inspection, and packaging.
A glass bottle mold set typically involves more than the final outside cavity. Depending on the forming method and bottle, matched elements can shape the preliminary form, neck, final body, and base. These components must work together while hot glass changes shape and temperature, which is why wall distribution, parting lines, engraving, mold cooling, and forming trials all influence the final result.
Plastic injection molding
Injection molding is commonly used for closures, collars, caps, jars, pump parts, and other components. Polymer is plasticized in a heated barrel and forced through gates and runners into a temperature-controlled split mold, where it cools before ejection. The [British Plastics Federation’s injection-molding guide] also notes that multi-cavity tools can produce multiple identical components per injection cycle.
For buyers, the important implication is that the tool must manage filling, pressure, cooling, shrinkage, release, and surface reproduction. A component that looks simple can still require a core, cavity, gates, vents, ejectors, cooling channels, and tight interfaces with the bottle or dispenser around it.
Extrusion blow molding
Extrusion blow molding forms a hollow molten tube, called a parison, which is enclosed by the mold and expanded against the cavity with air. It is widely used for plastic bottles and containers and can be suitable for materials and shapes that benefit from this continuous parison-forming route. Pinch-off geometry, trimming, wall distribution, handle features, and parison control can affect both tooling and production quality.
Injection blow molding
Injection blow molding first creates a preform around a core and then transfers it to a blow cavity to form the final hollow container. This route can provide controlled neck geometry and is used for bottles and jars where dimensional and visual consistency are important.
Injection stretch blow molding
Injection stretch blow molding stretches and blows a preform into the bottle cavity. It is strongly associated with PET containers and combines neck formation at the preform stage with orientation during final bottle forming. The BPF’s [plastics-process overview] distinguishes extrusion blow, injection blow, injection molding, and injection stretch blow as separate production routes.
| Process | Common packaging role | Tooling considerations buyers should discuss |
|---|---|---|
| Glass container forming | Glass bottles, jars, and vials | Matched mold set, hot-glass behavior, wall distribution, neck and base formation, engraving, cooling, annealing, and inspection |
| Injection molding | Caps, closures, collars, jars, pump and dispenser components | Gates, runners, cavity count, cores, cooling, ejection, shrinkage, texture, and assembly tolerances |
| Extrusion blow molding | Hollow plastic bottles and handled containers | Parison control, pinch-off, trimming, wall distribution, handle geometry, and neck finishing |
| Injection blow molding | Dimensionally controlled bottles and jars | Preform/core design, transfer, neck accuracy, blow cavity, and surface quality |
| Injection stretch blow molding | PET bottles and similar oriented containers | Preform design, stretch ratio, heating, blow cavity, base design, and wall distribution |
Material availability does not prove that a bottle is suitable for a specific formula. The brand or responsible product owner should validate the final formula in the final production-intent packaging through appropriate compatibility, stability, dispensing, sealing, transport, and market-specific testing.
Why custom bottle tooling costs so much
| Cost driver | What the buyer is paying for | Why it matters in production |
|---|---|---|
| Engineering hours | Analysis of material behavior, filling, cooling, shrinkage, wall distribution, release, and component interfaces | Converts an attractive shape into repeatable manufacturing geometry |
| Multi-part mold construction | Cores, cavities, inserts, neck pieces, base elements, gates, runners, vents, cooling, ejection, slides, lifters, or transfer parts as applicable | Every matched element must be manufactured, aligned, tested, and maintained |
| Tool material and machining | Production-grade steel or other mold materials, CNC work, electrical discharge machining where needed, grinding, fitting, and inspection | Tool material and precision influence life, stability, repairability, and surface reproduction |
| Bottle complexity | Undercuts, deep recesses, sharp transitions, difficult bases, handles, proprietary necks, or heavy embossing | Complex geometry can add mold actions, inserts, machining time, or secondary steps |
| Number of cavities | Additional matched cavities and the flow, cooling, or process balancing needed to operate them | More cavities can raise output per cycle but increase initial investment and validation work |
| Thermal and cycle engineering | Cooling circuits for plastic tools or heat-management features for the relevant forming process | Poor temperature control can lengthen cycles and contribute to deformation, dimensional variation, or surface inconsistency |
| Cosmetic surface standard | Texture, engraving, optical surfaces, mirror polishing, or controlled parting-line appearance | The mold surface is reproduced on every unit; fine defects can become repeated production defects |
| Trials and validation | Machine setup, trial materials, sampling, measurement, engineering review, correction, resampling, and approval | A completed tool is not production-ready until its output is shown to meet the agreed specification |
| Maintenance and storage | Cleaning, rust prevention, controlled storage, records, wear-part replacement, and access control | Protects the buyer’s ability to place repeat orders from the same production asset |
Complexity affects cost in more than one place
A deep recess does not only add machining time. It may change mold release, require a slide or insert, complicate polishing, slow the cycle, create a visible parting line, and add another inspection risk. That is why cost reduction should focus on simplifying the production system rather than negotiating one isolated line item.
More cavities change both investment and capacity
A multi-cavity tool can produce more parts per cycle, but each cavity must reproduce the same approved geometry and surface. Flow or forming balance, thermal consistency, matched dimensions, maintenance, and sampling become more demanding as the number of cavities rises.
The correct cavity count depends on expected demand, machine strategy, cycle time, maintenance planning, and the cost of constrained output. A buyer planning a long-running program may rationally accept a higher initial tool investment to reduce future capacity pressure. A buyer still validating demand may prefer a simpler starting point.
Cosmetic tooling is judged on every bottle it produces
For premium clear, glossy, textured, engraved, or optically sensitive packaging, the tool surface is part of the product design. Mirror-grade polishing and controlled texture require skilled manual work after machining, and any flaw can repeat across an entire production lot.
Decoration adds another interface. A bottle intended for screen printing, coating, hot stamping, metallization, or labeling needs suitable geometry and controlled surface conditions. Jarsking’s [decoration and labeling capabilities] can be reviewed while the structural design is still open, rather than after the mold has been completed.
What determines the actual tooling quotation
A responsible tooling quotation needs a defined technical scope. Buyers should provide enough information for the supplier to identify how many tools and components are required, what performance must be validated, and what production life the system is expected to support.
| Quotation input | Questions to answer before approval |
|---|---|
| Material and process | Glass, PET, PE, PP, or another material? Which forming process is proposed, and why? |
| Capacity and dimensions | What are the target fill and overflow capacities, height, width, weight, label panel, and critical dimensions? |
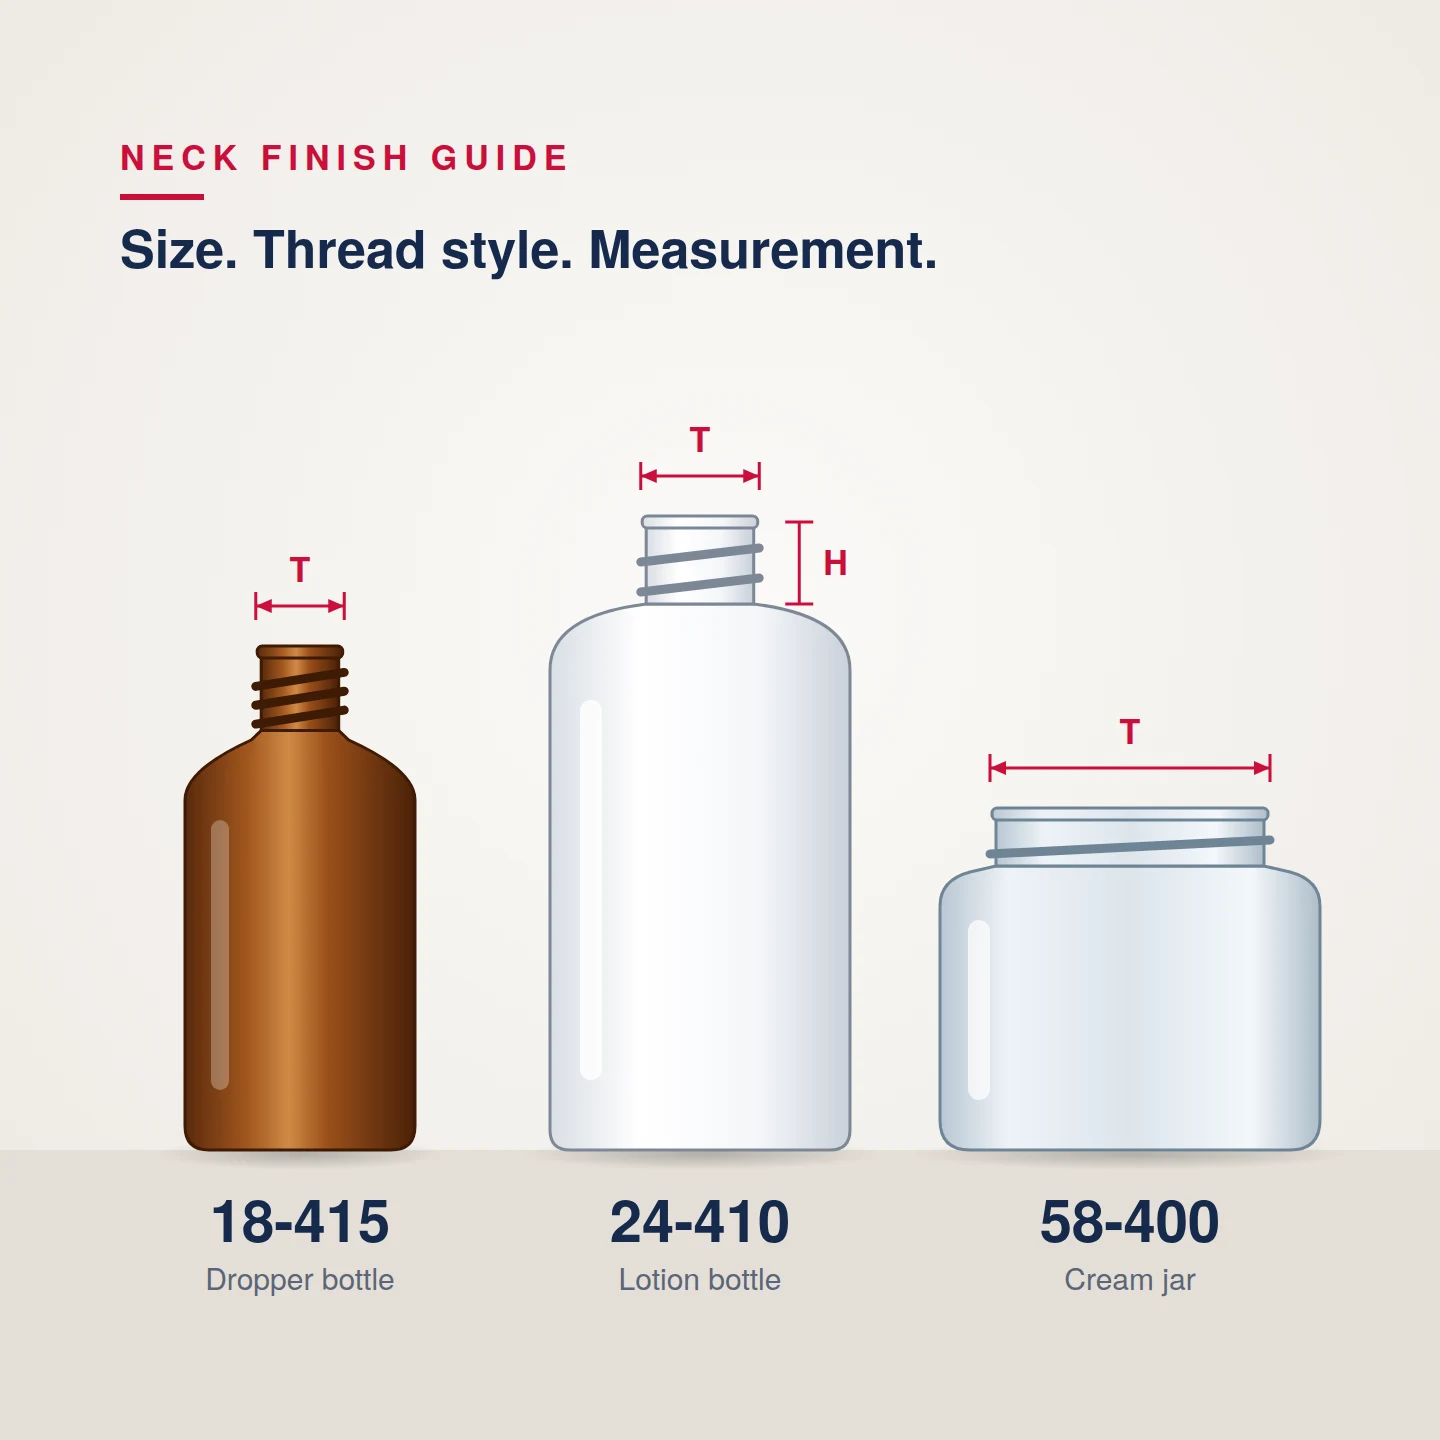
| Neck and closure | Is the neck standard or proprietary? Is the closure screw, snap-on, crimp, pump, sprayer, dropper, disc cap, or another system? |
| Component count | Which parts require separate molds: bottle, inner bottle, base, collar, actuator, cap, overcap, plug, or decorative shell? |
| Geometry | Are there undercuts, handles, deep recesses, sharp transitions, complex bases, embossing, or debossing? |
| Cavities and volume | What is the expected annual and lifetime volume? What cavity count and machine strategy are proposed? |
| Surface standard | Clear, glossy, frosted, textured, engraved, coated, metallized, or optically sensitive? Where may parting lines or gates appear? |
| Tolerances and interfaces | Which dimensions control sealing, assembly, dispensing, filling-line handling, or carton fit? |
| Validation | Which dimensional, functional, compatibility, stability, transport, regulatory, or retailer tests are required, and who performs them? |
| Commercial rights | Who owns the tooling? Is it exclusive? Where is it stored? Can it be transferred? Who pays for maintenance or major repair? |
| Mold-life expectation | What output and maintenance assumptions support the expected life, and which wear parts are replaceable? |
If the brief is incomplete, the quotation should identify assumptions rather than hide them. A low quote based on fewer components, a lower surface standard, limited trials, or an undefined ownership arrangement is not directly comparable with a comprehensive production-tooling scope.
Tooling cost and unit cost are different decisions
Tooling is primarily an upfront investment; bottle price is the recurring cost of production. Buyers should model both, because the least expensive mold is not automatically the lowest-cost option over the product’s commercial life.
Tooling contribution per approved bottle = total tooling investment ÷ total approved lifetime production quantity
This is an allocation tool, not a Jarsking quotation. If approved lifetime production doubles while tooling investment remains unchanged, the tooling contribution assigned to each bottle is cut in half. If lifetime production reaches five times the original plan, the contribution becomes one-fifth of the original per-bottle allocation.
| Approved lifetime volume | Relative tooling contribution per bottle |
|---|---|
| 1× baseline volume | 100% of baseline contribution |
| 2× baseline volume | 50% of baseline contribution |
| 5× baseline volume | 20% of baseline contribution |
The model becomes more useful when combined with capacity. A higher-cavity tool may increase initial investment but reduce production bottlenecks or recurring conversion cost. Conversely, overbuilding a high-output tool for uncertain demand can lock unnecessary capital into the launch.
When private bottle tooling is worth the investment
Private tooling is most defensible when the structure creates durable commercial value that decoration alone cannot provide. Use the following scorecard before committing.
Strong reasons to consider private tooling
– The bottle silhouette is a central, recognizable brand asset.
– The packaging requires a proprietary functional relationship between container, closure, dispenser, or refill.
– The expected lifetime volume can spread the tooling investment across a meaningful production program.
– The product will remain in the portfolio long enough to justify development and maintenance.
– Existing molds cannot meet a critical dimension, filling-line requirement, handling need, or shelf strategy.
– Ownership or controlled exclusivity is commercially important and can be documented.
Reasons to delay or avoid private tooling
– Demand, channel acceptance, or the final formula is still uncertain.
– The launch date cannot accommodate engineering, toolmaking, trials, corrections, and approval.
– Stakeholders are still changing the silhouette or component system.
– A proven bottle with distinctive CMF and decoration can meet the brand objective.
– Lifetime volume is too uncertain to select a sensible cavity and maintenance strategy.
– The ownership, exclusivity, storage, or transfer terms have not been agreed.
How to reduce tooling cost without weakening the package
The best cost reductions remove unnecessary complexity before steel or production tooling is committed. They preserve the interfaces and controls that make the package manufacturable, fillable, and repeatable.
1. Reuse a proven neck finish or closure interface. A proprietary neck can trigger new bottle, cap, collar, pump, or testing requirements. Retaining a validated interface concentrates investment on the visible structure.
2. Separate structural differentiation from decorative differentiation. Color, coating, frosting, printing, stamping, metallization, labeling, and secondary packaging can change brand expression without changing every molded component.
3. Reduce undercuts and moving actions. Slides, lifters, collapsible features, complex transfers, and removable inserts add parts, fitting work, cycle considerations, and maintenance.
4. Simplify hidden geometry first. Consumers may value the silhouette but never notice a complicated internal recess or base feature. Protect the visible idea while simplifying low-value details.
5. Prototype before cutting production tooling. Confirm scale, ergonomics, closure clearance, label area, and carton fit while changes are still relatively inexpensive.
6. Design the full component system together. Bottle, closure, dispenser, collar, dip tube, overcap, label, and carton interfaces should be reviewed in one specification.
7. Select cavity count from realistic volume. Use forecast ranges and capacity scenarios rather than choosing the lowest tool price or the highest output by default.
8. Consolidate feedback and freeze the approved design. Late structural changes can require remachining, replacement inserts, new samples, or a revised validation plan.
9. Define the surface standard early. Polishing, texture, engraving, parting-line expectations, and decoration zones influence the tool design and finishing route.
10. Negotiate lifecycle terms, not only the opening price. Storage, cleaning, preventive maintenance, wear parts, repair approval, records, and repeat-production access all affect total cost of ownership.
MOQ and development timing should match the chosen route
Existing-mold and custom-mold projects carry different commercial commitments because their engineering and asset requirements are different. At Jarsking, the existing-mold MOQ is 10,000 pieces per SKU. Custom-mold projects are normally 30,000–50,000 pieces per SKU, confirmed per project.
| Jarsking development route | Approved planning information |
|---|---|
| Existing-mold MOQ | 10,000 pieces per SKU |
| Custom-mold MOQ | Normally 30,000–50,000 pieces per SKU; confirm per project |
| Existing-mold glass samples | 3–15 days |
| Plastic samples | 15–20 days |
| Pump and cap samples | 7–25 days |
| OEM program | 33–65 days, excluding shipping |
| ODM program | 40–60 days; add five days for a PET/PETG color change |
| OBM full-custom program | 84–110 days; steel mold development takes 35–40 days |
| Mass production | 30–40 days |
| Sea freight | Add 35–40 days |
These are planning ranges, not guarantees for every package. Timing starts from approved inputs and depends on the component count, tooling scope, revision speed, sample approval, decoration, testing, production scheduling, and destination. Jarsking requires vector AI or PDF artwork plus Pantone references or physical color samples for production color work.
Do not confuse the company’s six-step pilot-run quantity with a general MOQ. MOQ is determined by the selected production route and must be confirmed in the project quotation.
The buyer’s pre-tooling approval checklist
A mold should not enter manufacturing until the commercial and technical boundaries are written down. Use this checklist for the approval meeting.
Design and specification
– [ ] Final CAD or signed dimensional drawing approved
– [ ] Fill capacity and overflow capacity defined
– [ ] Material and forming process confirmed
– [ ] Neck finish and closure interface confirmed
– [ ] Bottle, pump, cap, collar, dip tube, label, and carton relationships reviewed
– [ ] Embossing, debossing, engraving, texture, and decoration areas located
– [ ] Critical dimensions and appearance limits identified
Production and validation
– [ ] Cavity count and machine strategy confirmed
– [ ] Prototype limitations understood
– [ ] Trial quantity and review method defined
– [ ] Dimensional and functional tests assigned
– [ ] Formula compatibility and stability testing assigned to the responsible party
– [ ] Filling-line, transport, and destination-market requirements identified
– [ ] Approval sample, golden sample, and change-control process defined
Commercial and lifecycle terms
– [ ] Tooling price and included correction rounds documented
– [ ] Ownership and exclusivity documented
– [ ] Storage location and access rights documented
– [ ] Preventive maintenance and repair responsibilities documented
– [ ] Expected mold-life assumptions documented
– [ ] Transfer, retirement, and disposal terms documented
– [ ] MOQ, production lead time, and repeat-order process confirmed
How Jarsking supports custom bottle development
Jarsking supports OEM, ODM, and OBM packaging programs through one coordinated development and manufacturing network. OEM builds to the buyer’s controlled specifications. ODM applies color, material, finish, and branding to proven structures for a faster, lower-investment route. OBM is design-led co-development of fully custom packaging systems covering industrial design, structure, and CMF.
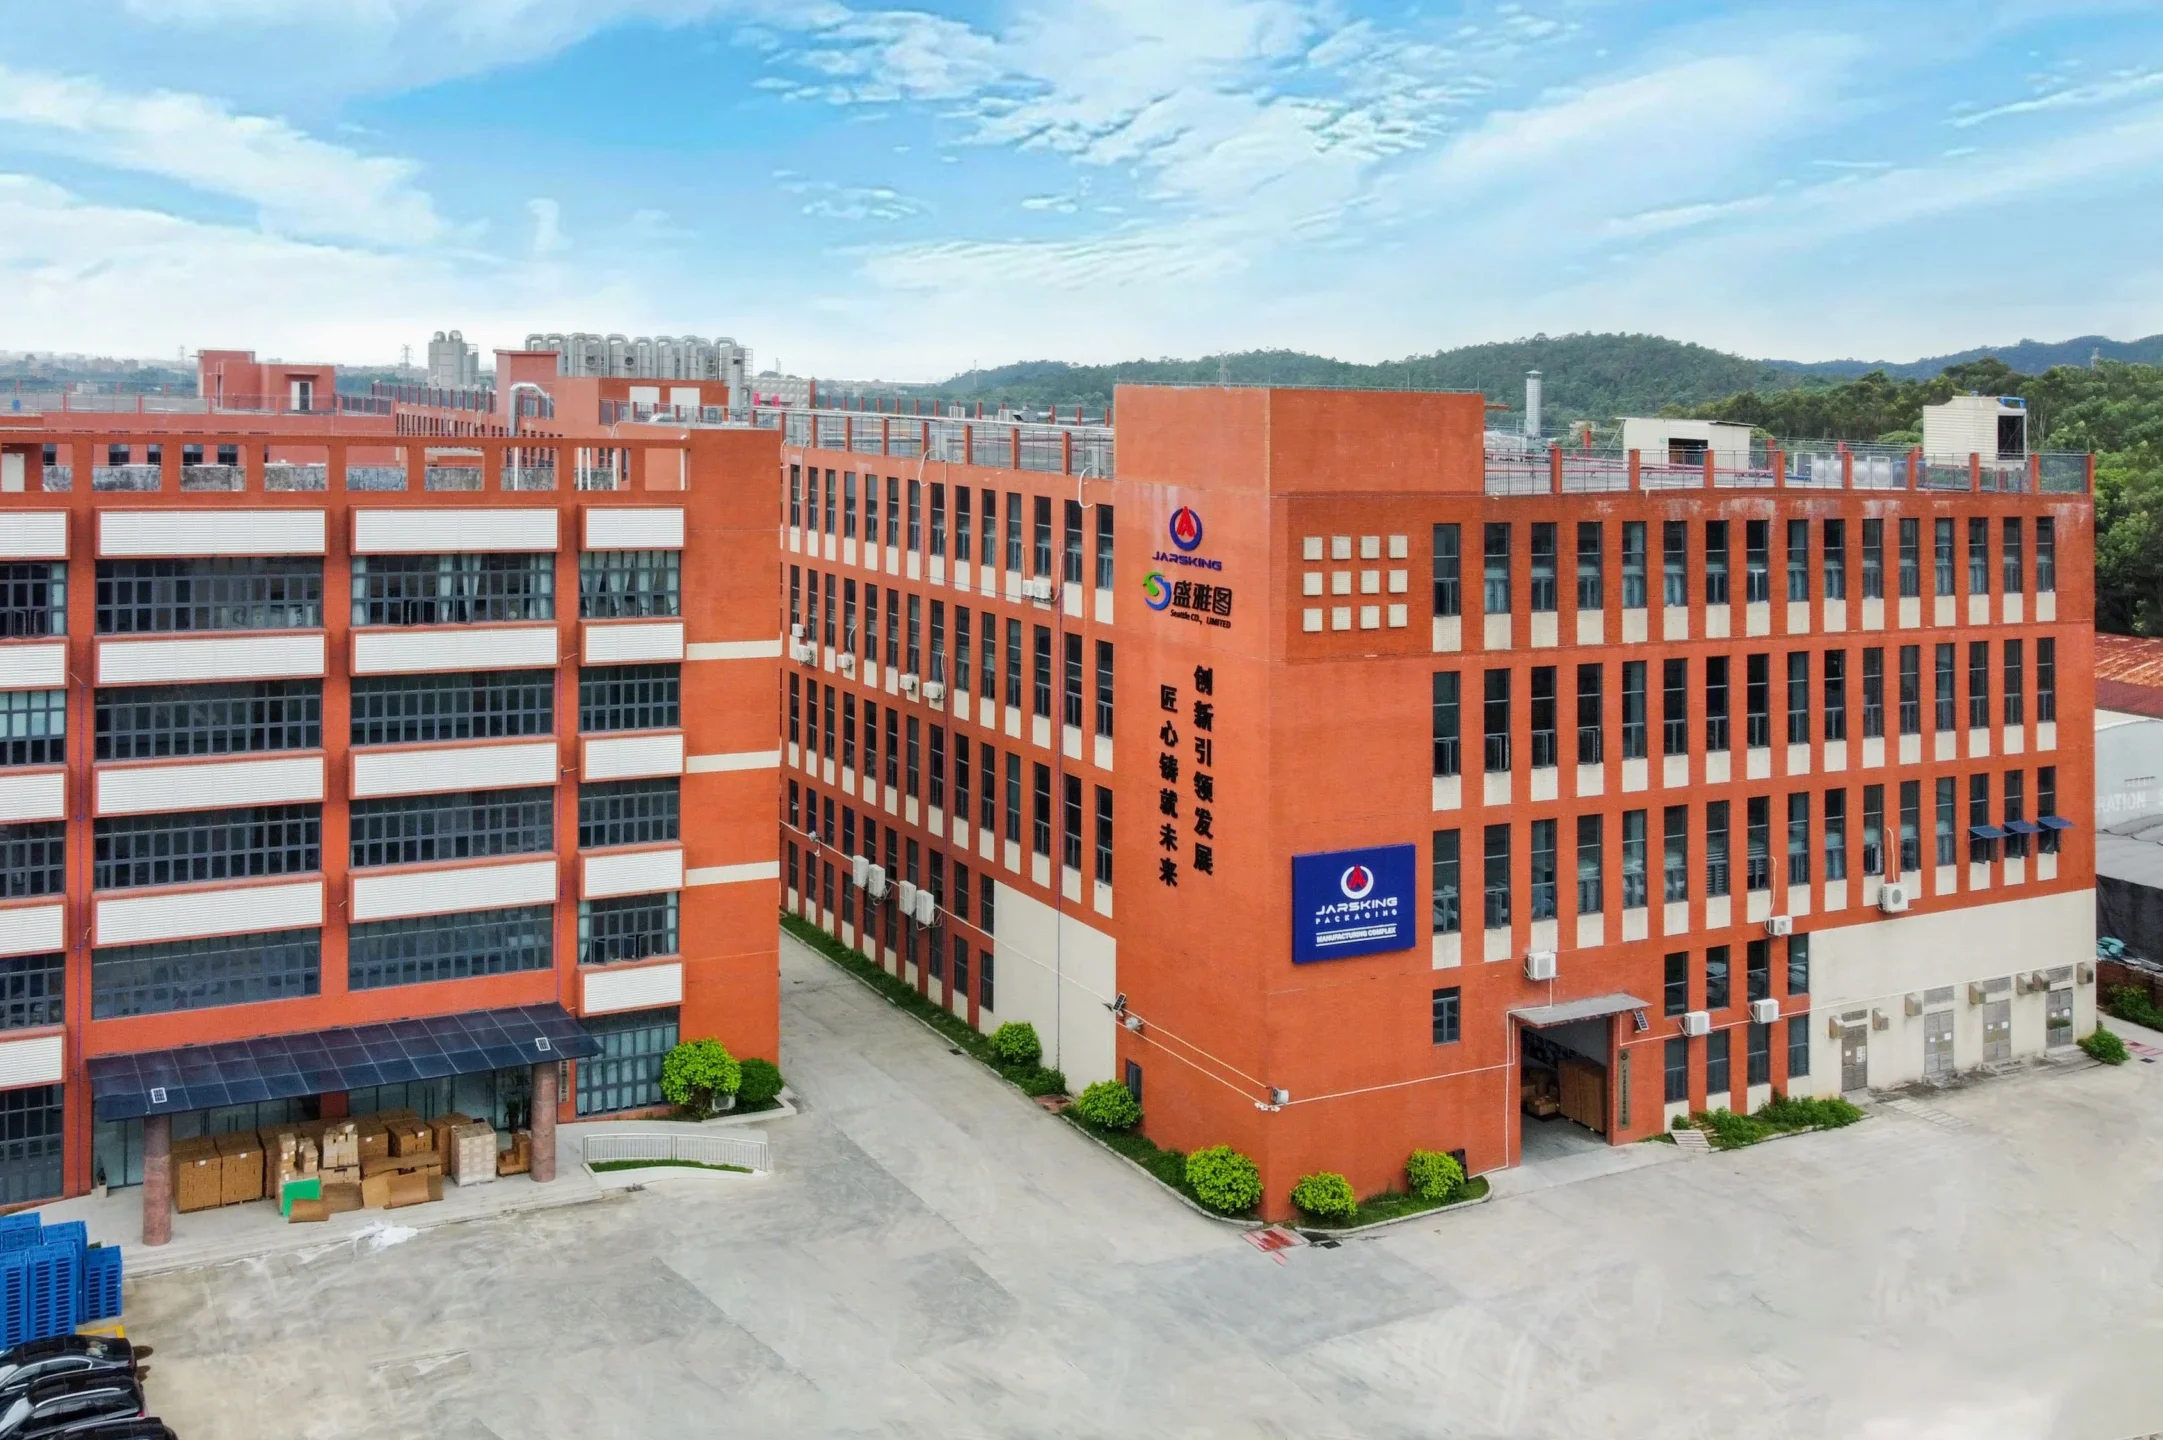
The company operates an in-house Mold Manufacturing Center and maintains 30,000+ ready-to-use molds. Its manufacturing base includes 100,000 m² of self-owned factories in China plus 300+ qualified partner factories worldwide.
For glass programs, the Jarsking workshop has 52 tons/day melting capacity, six lines, 170+ workers, premium high-clarity flint glass capabilities, and glass stress testing. The plastic workshop has 10 injection machines, eight blow-molding machines, and 200+ technicians. Surface-treatment capacity includes 20 screen-printing lines, 10 hot-stamping lines, three spraying lines, and metallization in chrome, gold, rose gold, and brushed finishes.
The development team includes 30+ packaging designers and supports 3D rendering, rapid prototyping, DfM, and design for recycling (DfR). Quality planning includes multi-stage inspection, lot-number traceability, third-party audit and documentation support, and AQL sampling. Buyers who need the bottle, closure, decoration, carton, and logistics coordinated through one program can review Jarsking’s [turnkey cosmetic packaging manufacturing] and [quality-management process].
Turn the bottle idea into the right production route
Custom bottle tooling is expensive because it creates a repeatable production asset, not merely a unique shape. The commercial objective should determine whether that asset is necessary. Start with an existing mold when visual customization can do the job, retain proven interfaces when only selected structural changes are needed, and choose fully custom tooling when signature form, function, ownership, and lifetime volume support the investment.
To request a technical review, send Jarsking your bottle concept, target material, fill capacity, closure or dispenser, expected annual volume, destination market, decoration direction, filling-line information, and launch target. The team can compare an existing mold, modified platform, and fully custom private-mold route before you commit to production tooling.
FAQs
There is no responsible universal price for a custom bottle mold. The quotation depends on the material and forming process, bottle dimensions, component count, geometry, cavity count, mold construction, surface standard, required tolerances, validation scope, expected production life, and ownership terms. A supplier needs an approved drawing or detailed technical brief before it can define the real tooling scope.
An existing mold spreads its original engineering and toolmaking investment across prior or multiple approved programs. A private mold requires new design translation, tool engineering, material, machining, fitting, finishing, trials, correction, validation, storage, and lifecycle support for one buyer’s project. The higher upfront investment buys structural originality and defined commercial control, subject to the tooling agreement.
Yes. A brand can often select a proven bottle and customize its color, coating, frosting, screen printing, hot stamping, metallization, labeling, closure appearance, and secondary packaging. Jarsking has 30,000+ ready-to-use molds, but the suitable structure, components, MOQ, sample timing, and decoration must be confirmed per project.
At Jarsking, steel mold development takes 35–40 days as a planning range. A complete OBM full-custom program takes 84–110 days, excluding shipping, because the program also includes design, engineering, prototyping, trials, approval, and production preparation. Complexity, revisions, testing, decoration, and buyer approval time can change the schedule, so confirm the project timeline before launch planning.
Ownership depends on the signed tooling agreement and payment terms; paying a tooling charge should not be treated as automatic proof of every ownership or access right. The agreement should define title, exclusivity, permitted use, storage, maintenance, insurance or loss responsibility where relevant, transfer, end-of-life handling, and access to drawings and production records.
No. A rapid prototype can validate appearance, proportion, ergonomics, and selected interfaces, but its material and manufacturing method may differ from final production. Production tooling trials, dimensional inspection, component testing, formula compatibility and stability work, filling-line checks, and a documented production release are still required.