









The buyer sent Jarsking photos of sample bottles. The print was coming off in places, the buyer said. There was a question about the carton, too. Could Jarsking move the glue seam off the front?
The seam could go on the back. On the print issue, Jarsking explained how the paint and drying process for the bulk run differed from those used for the samples. The next day, the buyer said it thought it could start its first batch of bottles.
A closer look at lifting print
- The buyer sends photosThe buyer reports print coming off some sample bottles.
- Jarsking explains the bulk processJarsking explains the different paint and drying process for the production run.
- The next dayThe buyer says it thinks it can start a first batch.
The buyer, a consumer brand developing a skincare range, had started by asking for a glass bottle catalog. By the time it sent those photos, it was reviewing bottles, pumps, and cartons as a group. A sample gave the buyer something concrete to point to. It could show exactly where it wanted a seam to move and where it had seen print come away. Those two observations led to different kinds of work.
The next-day message moved the conversation toward a first order. The buyer still had to work out which parts of its custom skincare packaging could move into production while the designers finished the artwork.
The design challenge behind the glass catalog
The buyer first asked which bottle sizes were available. Jarsking asked what would go in them. The answers included body lotion in a larger bottle and a thicker cream that needed a dispenser. That gave the two teams a more useful starting point. They could talk about the size, material, and pump for each product in the range.
The buyer had started with glass. When Jarsking brought up shipping weight, the buyer asked whether a similar bottle came in plastic. The question was about the larger format. The order summary still lists glass bottles for other products. A brand can choose the material for each bottle and use the finish and artwork to give the packs a shared look. Jarsking skincare packaging formats
The cream brought up a different problem. Would a thick product come through the pump easily? The buyer asked about a wider opening. Jarsking talked through the pump it had available and suggested trying a physical sample. When the buyer asked how one of the packs opened, the team sent a video showing someone opening it.
The team also sent photos of the pump parts. It could point out where the dip tube, the small tube that draws product into the pump, reached inside the bottle. Seeing the parts helps when you're working from a catalog. To find out how the pump would handle the thicker cream, the brand would need to try the assembled bottle and pump with the formula it planned to use.
According to the project team, the buyer chose existing bottle designs and made them its own through finishes and artwork. Once the bottle and pump were chosen, the designers could work out what would fit on the surface. Jarsking sent bottle dielines, which are templates showing where the design can be printed. The buyer's designers could use them to place artwork while the teams worked through the other packaging choices.
The project team recalls sending the dielines the day the buyer requested them. Each gave the designers a print area to work with for the corresponding bottle. If they wanted to use the same graphic on a different size, that bottle's template would show how much room they had. They could check the placement on each format before reviewing how the bottles looked together.
By the time the brand had samples to review, it could look at the pack as someone would use it. Could they open it easily? Where did the carton join? How did the print look on the bottle itself? The photos the buyer sent back focused the conversation on a few details that were now easy to see.
The seam could move. The bulk print process was different.
The sample feedback came in one round, but Jarsking had to answer it part by part. The carton seam and interior color were changes the team could offer. The dropper and pump requests depended on which part the buyer wanted to color. The print complaint had to go to production.
Where to put the carton seam
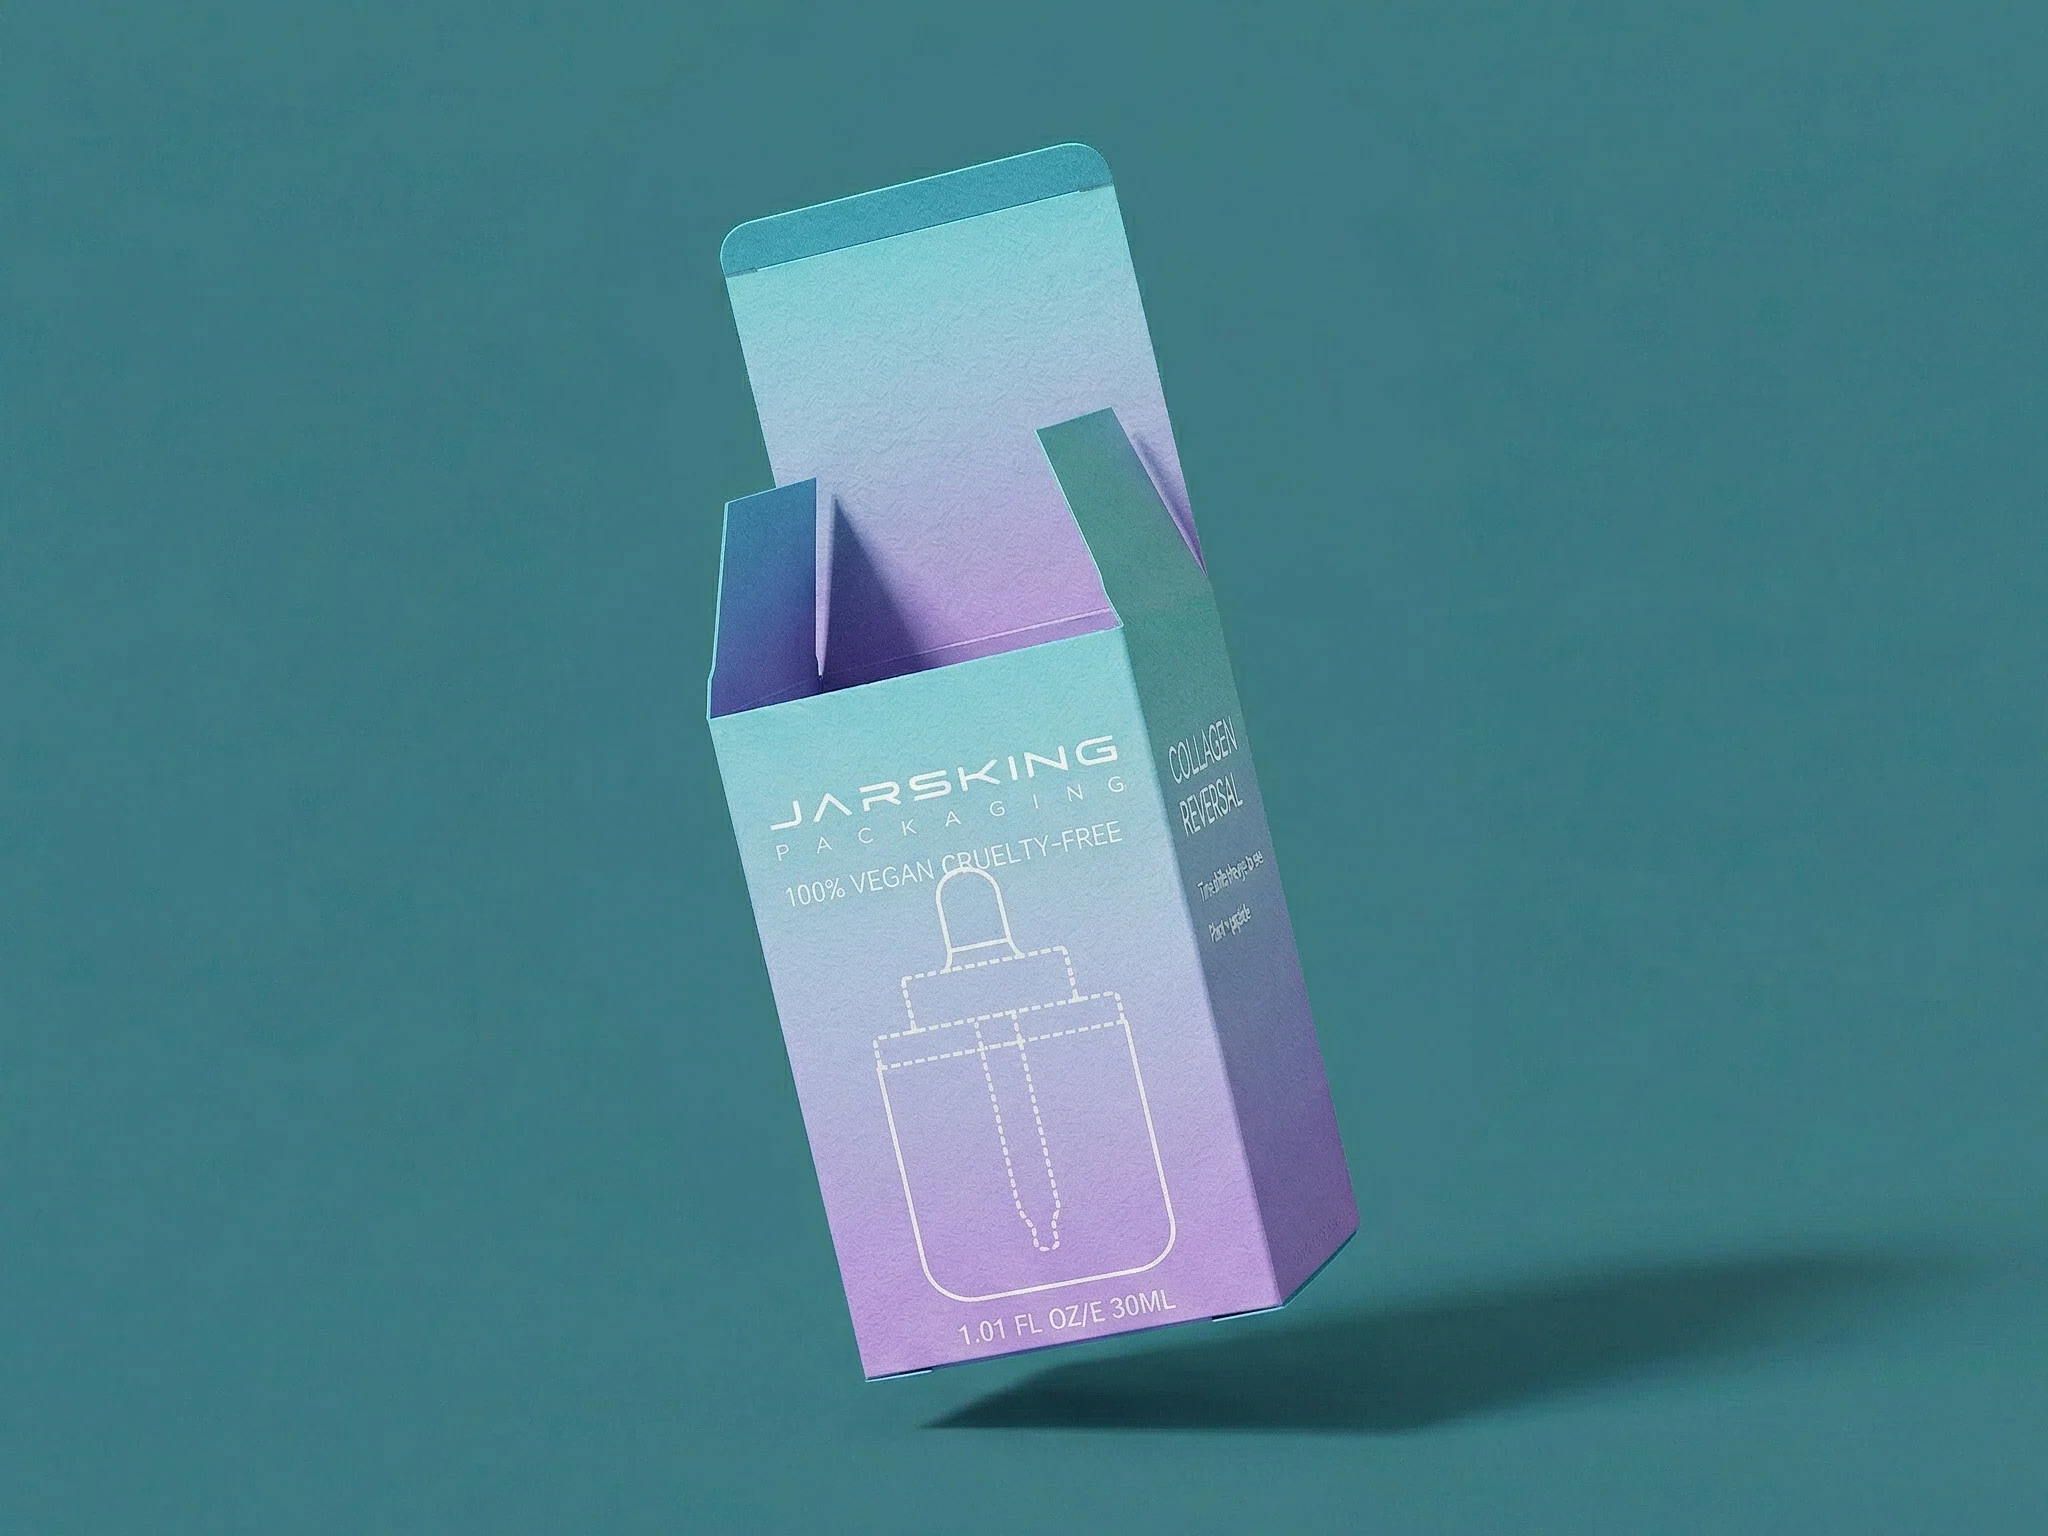
The buyer wanted the glued join away from the front of the carton. Jarsking offered to put it on the back. The buyer also asked how much it would cost to change the color inside. Jarsking quoted that separately. The seam mattered when the carton was on display. The inside color mattered when someone opened it.
On a folding carton dieline, the design team can mark which panel faces forward, where the glue seam sits, and which surfaces need color. Once the team has a proof or a physical carton, it can check those details on the assembled box. If the seam still lands on the wrong panel, there's a specific place on the drawing to revisit. Jarsking decoration and carton options
It helps to review the carton the way a shopper sees it. Stand it up with the front facing you. Turn it to see where the seam falls, then open it to check the inside. A flat drawing gives everyone a reference for the changes they see on the assembled box.
Where the color could go
The buyer wanted the color to carry across parts of the dropper and pump. The glass pipette, the tube at the end of the dropper, was one of the parts under discussion. The project team says it advised against coating the pipette. If the coating came away, it could come into contact with the contents.
The pump nozzle had a different constraint. A custom color for that part came with its own minimum order quantity. The buyer could now weigh the appearance it wanted against the quantity required to make that particular change. A request to color the top of a bottle can cover several pieces. Naming the piece on a drawing or sample helps a supplier quote the change and explain what's possible.
Jarsking's response to the print complaint
Jarsking explained that it would use a different paint for the bulk run. The account lead also recalled a shorter oven cycle for the samples and a longer drying step in the production plan. Paint and drying time were two differences between how the samples were made and how the order would be produced.
Jarsking requires a pre-shipment inspection for the production run. A print adhesion check assesses how well the decoration holds on bottles made with the production finish. For a buyer reviewing the production specification, the useful details are which bottle and finish the supplier will check, the method it will use, and what counts as a pass.
The sample photos showed the team where the print came away. An inspection record for the bulk run should identify the bottle, finish, and artwork revision alongside the result. If the same design appears on more than one bottle, that reference helps everyone identify which version was checked. A buyer can also ask the supplier to keep the checked bottle with the corresponding inspection record.
| What the buyer raised | How Jarsking responded |
|---|---|
| The glue seam was on the front. The buyer wanted a different color inside. | Offered to move the seam to the back and quoted the interior color change. |
| The buyer asked about coloring parts of the dropper and pump. | Explained the risk of coating the glass pipette and the minimum order for a custom nozzle color. |
| Print was coming off sample bottles. | Explained how the paint and drying process differed between sampling and bulk production. |
The buyer was ready to order. The schedule was still open.
The buyer's message the following day was about starting a first batch of bottles. The order still needed a schedule, and the buyer's designers were still working on the artwork. The next request put a number on how much time the buyer hoped to save.
The buyer asked for a ten-day cut
According to the project recap, the buyer asked Jarsking to take ten days out of the proposed production schedule. The final artwork was still in progress. Jarsking had to explain the time it had allowed and see which steps could start sooner.
In its reply, Jarsking pointed to the decorative finish and the inspections the job would need. There was another reason to leave time for checking. Some of the artwork versions looked similar. A bottle could be the right shape and color and still carry the graphic meant for another version. Production needed the final files to tell those versions apart and check each against the right artwork.
Jarsking kept its original production estimate. It offered to change the order of the work. The buyer had already confirmed colors for some components, so Jarsking proposed starting the molding and coating for parts it could make with the information already approved. Anything that depended on the final artwork would wait for sign-off. The offer depended on the buyer getting those files in by the deadline Jarsking proposed.
Production planning
Where could the schedule overlap?
The buyer asked to cut ten days while final artwork was pending. Jarsking retained the planned production window and proposed moving eligible work earlier if the artwork cutoff could be met.
Phase 1 of 4 · Inputs
Color was set while artwork was pending
The confirmed color gave Jarsking a basis for identifying which steps could move forward independently.
Proposed overlap · two workstreams
- Lane A · Components Color-confirmed preparation Eligible molding and coating could begin earlier.
- Lane B · Artwork Final artwork release Final files were still needed by the proposed cutoff.
- Then · DecorationApply approved artwork
- Then · InspectionRequired pre-shipment inspection
Illustrative baseline · sequential work
- 01 · InputsConfirm color and artwork
- 02 · PreparationMold and coat eligible parts
- 03 · DecorationApply approved artwork
- 04 · InspectionRequired pre-shipment inspection
The comparison uses conceptual phases to show the scheduling proposal at the purchase-order stage.
| Production step | What the team would need |
|---|---|
| Start molding and coating some components | Confirm which parts and colors were set and could be made before artwork approval. |
| Start the decoration that needed final artwork | Receive the final files by the proposed deadline. |
| Complete the required pre-shipment inspection | Allow time to check the finish and match similar-looking bottles to the correct artwork. |
The buyer's design team and Jarsking's production team would have had different work to do at the same time. The designers would finish the files. Production would make the parts that were already defined. The two paths would meet when those parts were ready for the work that used the final artwork. Keeping the proposed cutoff in the plan made that handoff visible to both teams.
Starting some work early carries its own trade-off. If a design change affects a component already in production, that part may need rework. Before agreeing to an early start, a buyer can ask the supplier to name the parts it wants to make and list what must stay fixed. A confirmed color is useful. The part also has to fit the final pack and work with the intended decoration. Those details make it easier to decide whether starting a particular job early is worth it.
Say a bottle body already has an approved color. The buyer could ask whether the artwork might change the area the supplier plans to coat. If the answer depends on a graphic that's still in progress, that decision needs its own deadline. Put the approved parts and the dates for open decisions on the same schedule so both teams can see what they are agreeing to.
The artwork cutoff needs a clear definition, too. When you agree to send the files by a certain date, ask what the supplier needs to begin work. Who will check the files? If one needs another revision, which production steps will have to wait?
The first-order outcome came weeks later
The Jarsking project team reported a formal purchase order and initial deposit several weeks after the buyer's message about starting a first batch. The order summary lists bottles and matching cartons. The buyer had begun by asking what glass bottles were available. By the time of the order, the work covered several formats and the cartons that went with them.
The purchase order and deposit mark where this part of the story ends. During the sample review, the buyer could point to a seam that should move and show where the print had come away. Jarsking could then explain what would change in bulk production. During the schedule discussion, the parties could talk about specific parts that might move ahead and graphics that still needed approval. Those are the decisions behind the order that another buyer can take into a conversation with a supplier.
For a buyer placing a similar order, this is a good point to check that the quote, artwork, and order all refer to the same packs. A bottle, its dispenser, and its carton may be discussed together. Check the specification for each. Using the same reference across those files helps the teams match the pieces.
- Glass inquiryThe buyer asks about available bottle sizes.
- Sample feedbackThe buyer raises carton, component, and print questions.
- First-batch messageThe buyer brings up an order for bottles.
- Formal orderThe project team reports the purchase order and deposit.
What buyers can decide from a sample
A sample review is easier to run if you know what you want to decide. Start with what you can see and handle on the table. You might be able to approve the carton layout at that meeting. For the pump, arrange a trial with the intended formula. For the print, ask how the supplier will check the finish it plans to use in production. Leave each item with a clear next step.
Ask which production materials and steps the sample represents. If the bulk run uses a different process, note the difference in the sample review so both teams have it in writing.
You can make the review easier by giving everyone the same list of decisions. For each bottle, record what it will hold, which pump or closure goes with it, and which pieces need a custom finish. On the carton file, mark the seam, interior color, and artwork placement. When you request a change, point to the part or panel so the designer and production team can find it quickly.
For each item on the list, write down who needs to sign off and when. Some approvals are as simple as confirming that the seam sits on the back. For a print check, you need the part and finish being checked, the method, and what will count as acceptable. Give each artwork version its own file reference so the production team can match it to the right pack. If the schedule is tight, ask which of those approvals the supplier needs before starting each job.
You can start with a shared file that lists one row for each pack. Include the bottle or carton reference and the current artwork file. If two bottles look almost the same from a distance, the person checking them can match each one to the right graphic by looking up the file. When a revision comes in, update the row and keep the previous reference in the review history.
The brand and its filling partner should also plan how to check the formula's stability and compatibility with the pack. Choose packaging that represents the version you intend to sell. Base the test plan on the formula and how the finished product will be stored and used. The packaging supplier can provide samples and component details to support that work. Cosmetics Europe stability testing guidelines · ISO technical report on cosmetic stability testing
Buyer FAQs
When does shipping weight change the choice between glass and plastic?
If both formats can work for your product, ask what each would weigh across the full shipment. Get the weight of the empty bottle with its pump or cap and find out how it would be packed for transit. Use that comparison alongside the way the bottle looks and feels, how it dispenses, and how it works with your formula. You can make the choice separately for each bottle in the range.
How should a buyer sample a pump for a thicker cream?
Ask for the bottle and pump assembled as they would be for production. Have the brand or filling partner test the pack with the intended cream. Check how many presses it takes for the cream to start flowing and how consistently the pump dispenses after that. Decide what amount suits a typical use. Record which bottle and pump you tested so you can refer to the same combination later.
What can a packaging dieline help the buyer review?
A dieline shows where artwork can go on a particular bottle or carton. On a bottle, it marks the print area. On a carton, it can show panels, folds, and the glue area. Use it to place the artwork, then look at a proof or assembled sample to see where the graphic and seam actually land. If you change the pack size or shape, ask for the dieline that goes with the new format before reusing the artwork.
What should a buyer ask when print lifts on a sample?
Send photos and explain where the print came off and what happened just before you noticed it. Ask how the sample was printed, what process the supplier plans to use in production, and which decorated part it will check. Agree on what the check involves and what counts as a pass. Ask for the result before you sign off on that step.
Which work can begin before final artwork approval?
Ask your supplier to list the parts it can make using the specifications and colors already approved. Agree on who can give the go-ahead and when the artwork is due. If a late change could affect a part that will already be in production, factor that into the decision. Schedule a separate sign-off for the work that needs the final files.
The final takeaway for a first packaging brief
The buyer's photos gave Jarsking a specific problem to discuss with production. The ten-day request led to a similarly specific conversation about which parts might start early and which needed the final artwork. In both conversations, the next step depended on knowing what had already been agreed and what still needed a decision.
If you're planning a skincare range, bring a list of the products, the bottles and dispensers you're considering, and any artwork you already have. Tell Jarsking what you want to learn from the samples and which dates are fixed. The team can help you review the empty packaging, decoration, and cartons together.
Discuss your packaging brief with Jarsking