










On social media, packaging looks effortless — exact color, a flawless finish, a pump that glides. What you never see is the version before that. Or the three versions before that. Multiple prototype rounds are not a sign a supplier is struggling; they are the sign of a supplier doing the job properly, because a finished package shows the result while the prototypes show the real capability behind it.
Each round exists to answer a different question — Does it fit? Does it feel right? Will it survive the filling line and the shipping container? Skip one and the problem simply moves downstream into mass production, where it becomes expensive. If you're still deciding what actually goes on the bottle, our guide to choosing a dispensing system pairs naturally with this one. Here we go one level deeper: how a concept becomes a production-ready pack.

What every prototype round actually has to do
Strip away the finishes and the marketing, and the prototyping process is a controlled sequence in which each round validates a different risk before the final sample is locked as the reference standard for production. Click a round below to see what it's really for.
Can this idea actually be made — repeatedly, without defects? (Design for Manufacturing)
- Positioning & target consumer
- Shape, capacity & use scenario
- Material & structure
- Logo, color & finish
- Matched pump / cap / dropper / carton
- Stable to produce at volume
Is the direction right? (The first sample isn't meant to be flawless.)
- Proportion in the hand
- Capacity vs. size
- Neck–pump–cap match
- Hand-feel vs. positioning
- Real object vs. the intent
Is the experience right? Packaging has to feel good and behave predictably.
- Bottle height / shoulder
- Cap color & texture
- Logo size & position
- Spray / actuation / rebound
- Carton structure & fixation
Will it survive the filling line and the shipping container? (Design for Reliability)
- Color & finish consistency
- Formula compatibility
- Sealing & leak
- Drop & transit stability
- Filling-line fit
- Assembly tolerances
Is this the version every future batch must match?
- Passed all four dimensions together
- Becomes the batch-to-batch benchmark
- Glass samples ≈ 3–15 days (existing mold)
- Plastic ≈ 15–20 days · pumps/caps ≈ 7–25 days
Figure 1. No round can carry the whole job. Each one kills a different risk — and the earliest rounds are deliberately unglamorous.
The five stages at a glance
Read this as a map of the process. The sections below explain why each round earns its place.
| Stage | What it validates | What gets decided |
|---|---|---|
| Initial concept | Feasibility & brand intent | Shape, capacity, material, finish, component set |
| Prototype 01 | Fit / direction | Proportion, capacity, neck–pump–cap match, hand-feel |
| Prototype 02 | Detail & use experience | Finish, logo, actuation/rebound, carton |
| Prototype 03 | Function & production | Seal, leak, drop/transit, filling-line fit, tolerances |
| Final approved sample | Consistency | The reproducible standard for mass production |
How each round works
Stage 00 — Concept: turning a brand into a producible plan
Before any sample is cut, the concept has to survive contact with manufacturing reality. Sketches, references, a mood board and early 3D get pressured against structure, tolerances, the filling line and the decoration process. This is Design for Manufacturing (DfM): shaping a design so it can be produced, again and again, without defects. A beautiful design is only the starting line. With 30+ in-house designers, rapid 3D rendering and 30,000+ existing molds to draw on, much of "will this work?" is answered before a physical sample exists — provided the brief arrives with vector artwork and a Pantone or physical color reference.

Prototype 01 — Direction: validate, don't chase perfection
The first sample has one job: confirm the direction is right. Treating it as if it should be flawless is the fastest way to waste money. It answers whether the proportions are balanced in the hand, whether the capacity suits the size, whether the neck, pump and cap actually match, and whether the real object matches the intent. The most useful thing to come out of this round is a side-by-side of the design drawing and the first physical sample — the first time a concept becomes something you can pick up.
Prototype 02 — Experience: refine the detail and the feel
Round two acts on round-one feedback and shifts from "is the direction right?" to "is the experience right?" That means adjusting bottle height or shoulder proportion, changing cap color and texture, moving the logo, and tuning spray output, actuation force or pump rebound. Packaging is not only something to look at — a pump that needs two presses to prime or a cap that squeaks won't show in a photo, but it will show in a review.
Prototype 03 — Function: prove it survives production
By the third round the sample is close to what mass production will be, and the testing gets serious. Here Design for Reliability (DfR) takes over — validating color and finish consistency, formula compatibility, sealing and leak, drop and transit stability, filling-line fit, and the tolerances between separate components. A serious manufacturer backs this with glass stress testing, AQL sampling to ISO 2859 and multi-stage QC; transport performance can be validated against ISTA's pre-shipment standards. The principle is blunt: every problem caught here is one less risk carried into mass production.
The final approved sample — reliable, not just prettier
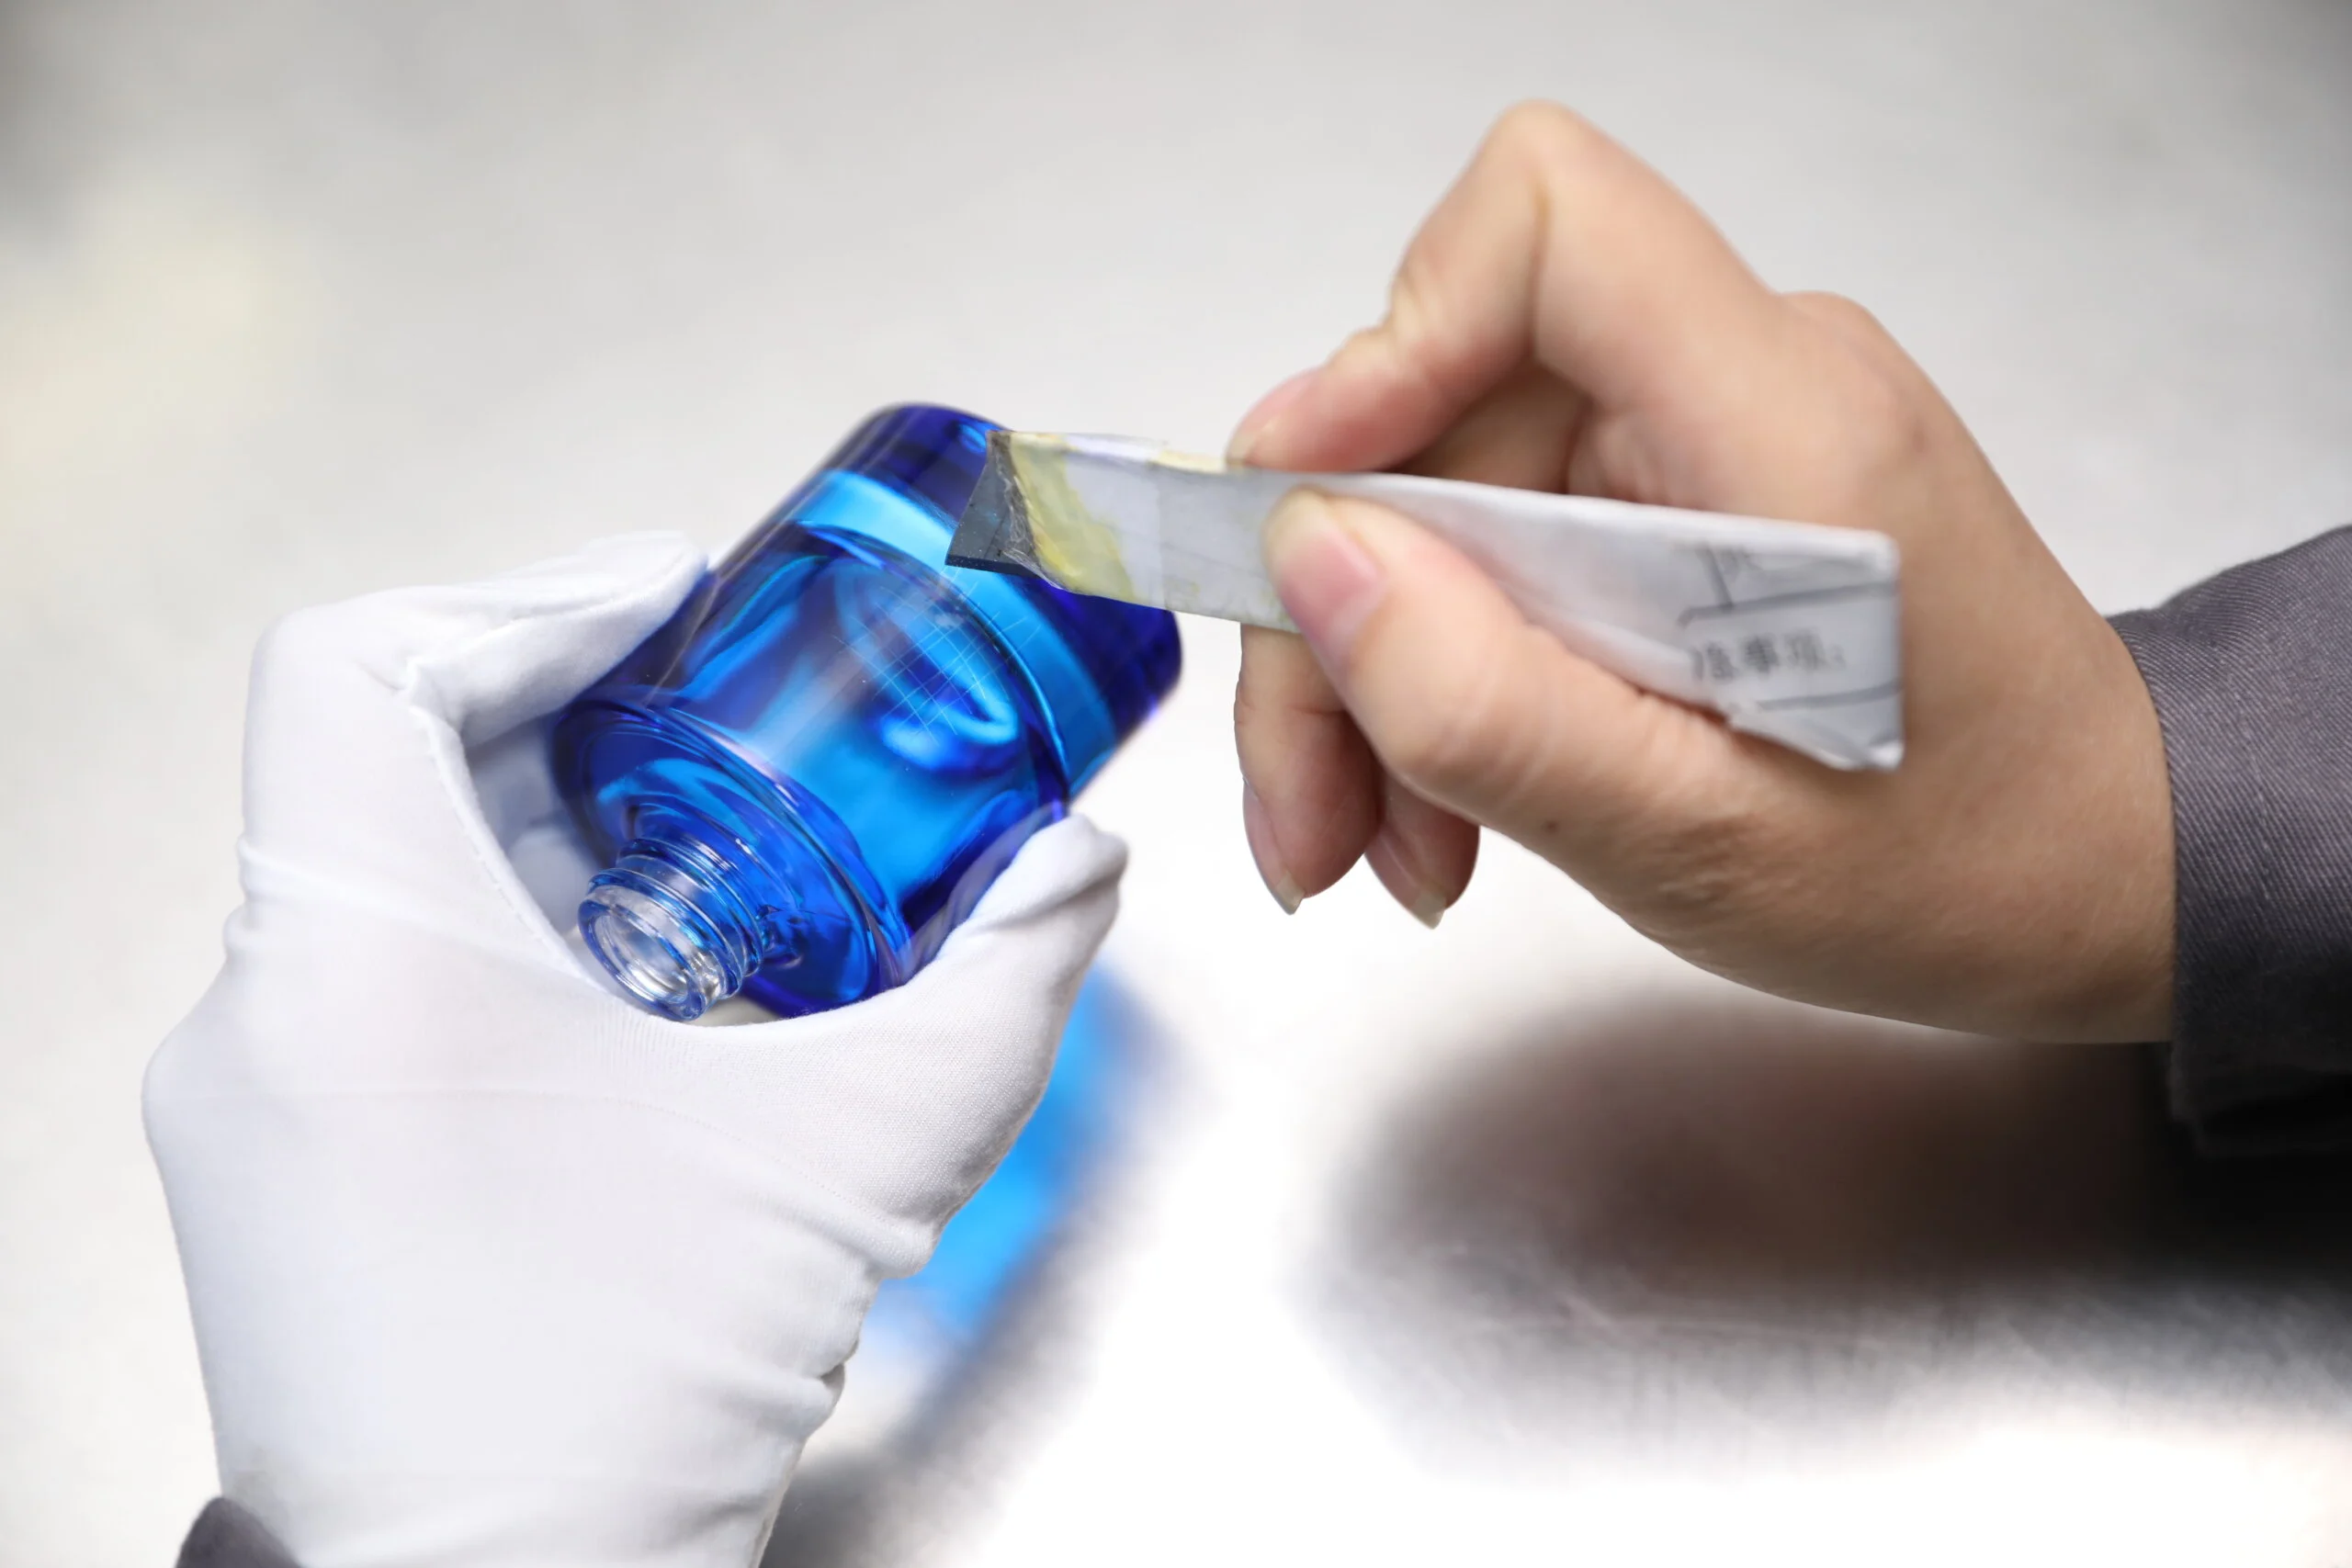
The final approved sample isn't simply the best-looking version. It's the one that passed design, structure, function и production conditions together — and from there it becomes the reference standard every future batch is measured against. That reframes the whole sequence: showing a brand the earlier rounds isn't to prove they were "bad," but to make visible what each one solved.
The sample and mass production are one system, not two purchases. Neck finish, dip-tube length, piston diameter, filling-line speed and decoration all have to agree. We have seen well-chosen packs fail at scale simply because a tolerance that was fine on one sample drifted once it was made 100,000 times — which is exactly what the approved sample exists to prevent.
Three projects, three rounds that mattered
Each of these Jarsking projects treated a specific prototype round as the decision that protected the launch — and each did it for a different reason. Every figure below is from a published case study.
The first sample wasn't built to impress. It was built to fit.
A US trader in cannabis- and kratom-adjacent products needed child-resistant dropper bottles and floated a small test order first. The obvious move was a polished, decorated sample. Jarsking did the opposite — and ran three deliberate rounds.
- Plain, undecorated. No branding — its only job was to confirm the bottle fit the client's paper-box specs and the destination filling machinery.
- First decorated draft. Only after fit was proven did print and finish get judged.
- Final sample. Every refinement folded in.
- Speed to shelf is the moat. These SKUs turn fast — a packaging delay hands the launch window to a rival.
- The dropper has to interlock with a chain the brand doesn't control — a co-packer's line, a separate box supplier, a retailer's calendar — while meeting child-resistance that's legally mandated, not optional.
- So the "boring" first round de-risks the whole system before money goes into decoration. A cautious trial became a 1.8M reorder because the buyer was paying to never be the reason the line stops. Full case study →
The prototype that changed one angle from 30° to 22°.
A custom 30g face cream jar was fighting the client's automated capping equipment. This is where prototyping stops being cosmetic and becomes engineering — parametric modeling, Finite Element Analysis, 3D-printed test models and thermal-shock testing.
- Model & simulate. FEA predicted stress under real capping torque; 3D prints checked ergonomics.
- Redesign the shoulder. 30° → 22°, plus a standardized 0.5mm thread pitch for drop-in compatibility.
- Validate on the line. Jams gone, speed up, defect rate down.
- A jar two cents cheaper that stalls a capper at 200/min loses far more in downtime and scrap than it ever saved at purchase.
- Automated lines are merciless about neck finish, thread pitch and shoulder geometry — the defect isn't on the bottle, it's in the line report.
- Engineering the shoulder for this client's specific equipment is what separates a vendor who ships to spec from a partner who fixes the spec. Full case study →
The sample that had to survive being made 645,000 times.
A Polish medical-cosmetology brand started almost impossibly small — modest orders of 3,000–5,000 units. Over five years that grew into a full range, driven substantially by packaging differentiation. The prototyping work wasn't "does it look good once."
- Custom private molds. A proprietary form, not a stock component anyone could buy.
- Master the decoration. Debossing and hot stamping tuned to reproduce identically, batch after batch.
- Build the design system. Coherence held across 100+ SKUs, glass and PET.
- Inconsistency across a line reads as a quality drop to shoppers and retail buyers, even when every individual unit is fine.
- Custom molds + mastered decoration build a shelf identity a rival can't clone with stock components — so packaging drove the growth, not just protected it.
- Scaling 16× shifts the constraint from "can we make it?" to "can we make it identically, forever, across two design languages and two materials?" Full case study →
Catch it early, or pay for it later
The value of every round is the cost it removes from the round after it. The same flaw is a revision in a sample and a crisis in production.
Figure 2. Read each row as a trade: what the fix costs in sampling versus what the same miss costs in production.
Specify the process, not just the sample
Good packaging is rarely right on the first sample — and that's exactly why a controlled prototyping process is worth insisting on. Done well, it reduces post-production rework and complaints, lowers the risk of packaging-formula incompatibility, improves batch consistency, prevents launch delays, and turns a creative design into something that can actually be produced at volume. A supplier who promises a flawless first sample is either skipping validation or hasn't found the problems yet. Ask to see the rounds.
Часто задаваемые вопросы
Because each round validates a different risk — first fit and direction, then detail and use experience, then function and production feasibility (seal, leak, drop, filling-line and formula compatibility). Solving all of it in one sample almost guarantees a problem surfaces in mass production instead, where it's far more expensive to fix.
Most professional projects run roughly three prototype rounds plus a final approved sample. Complex custom systems can need more; simple existing-mold projects fewer. The goal isn't a fixed number — it's a sample that has passed design, structure, function and production-condition checks.
Usually the opposite. Multiple rounds mean the supplier is deliberately surfacing and solving problems before they reach the line. A clear, controlled sampling process is a capability signal, not a weakness.
It depends on tooling and material. Using existing molds, glass samples run about 3–15 days, plastic 15–20 days, and pumps or caps 7–25 days. A fully custom steel mold adds roughly 35–40 days before sampling. Build the launch calendar around the path your project actually takes.
A prototype validates one dimension at a time. The final approved sample has passed all of them together and is signed off as the reference standard every future batch is measured against — which is why the approval matters more than the appearance.
A pilot run is a small first production batch — commonly around 3,000–5,000 units — made on the real line before scaling. It confirms that what worked as a sample also works at line speed, with real tooling, filling and assembly, so any last issue is caught at small scale.
Jarsking typically requires a 10,000-unit minimum per SKU on existing molds. Some stock components run lower and custom tooling runs higher, so MOQ is confirmed per project once the bottle, dispenser, dose and decoration are defined. Start that conversation →